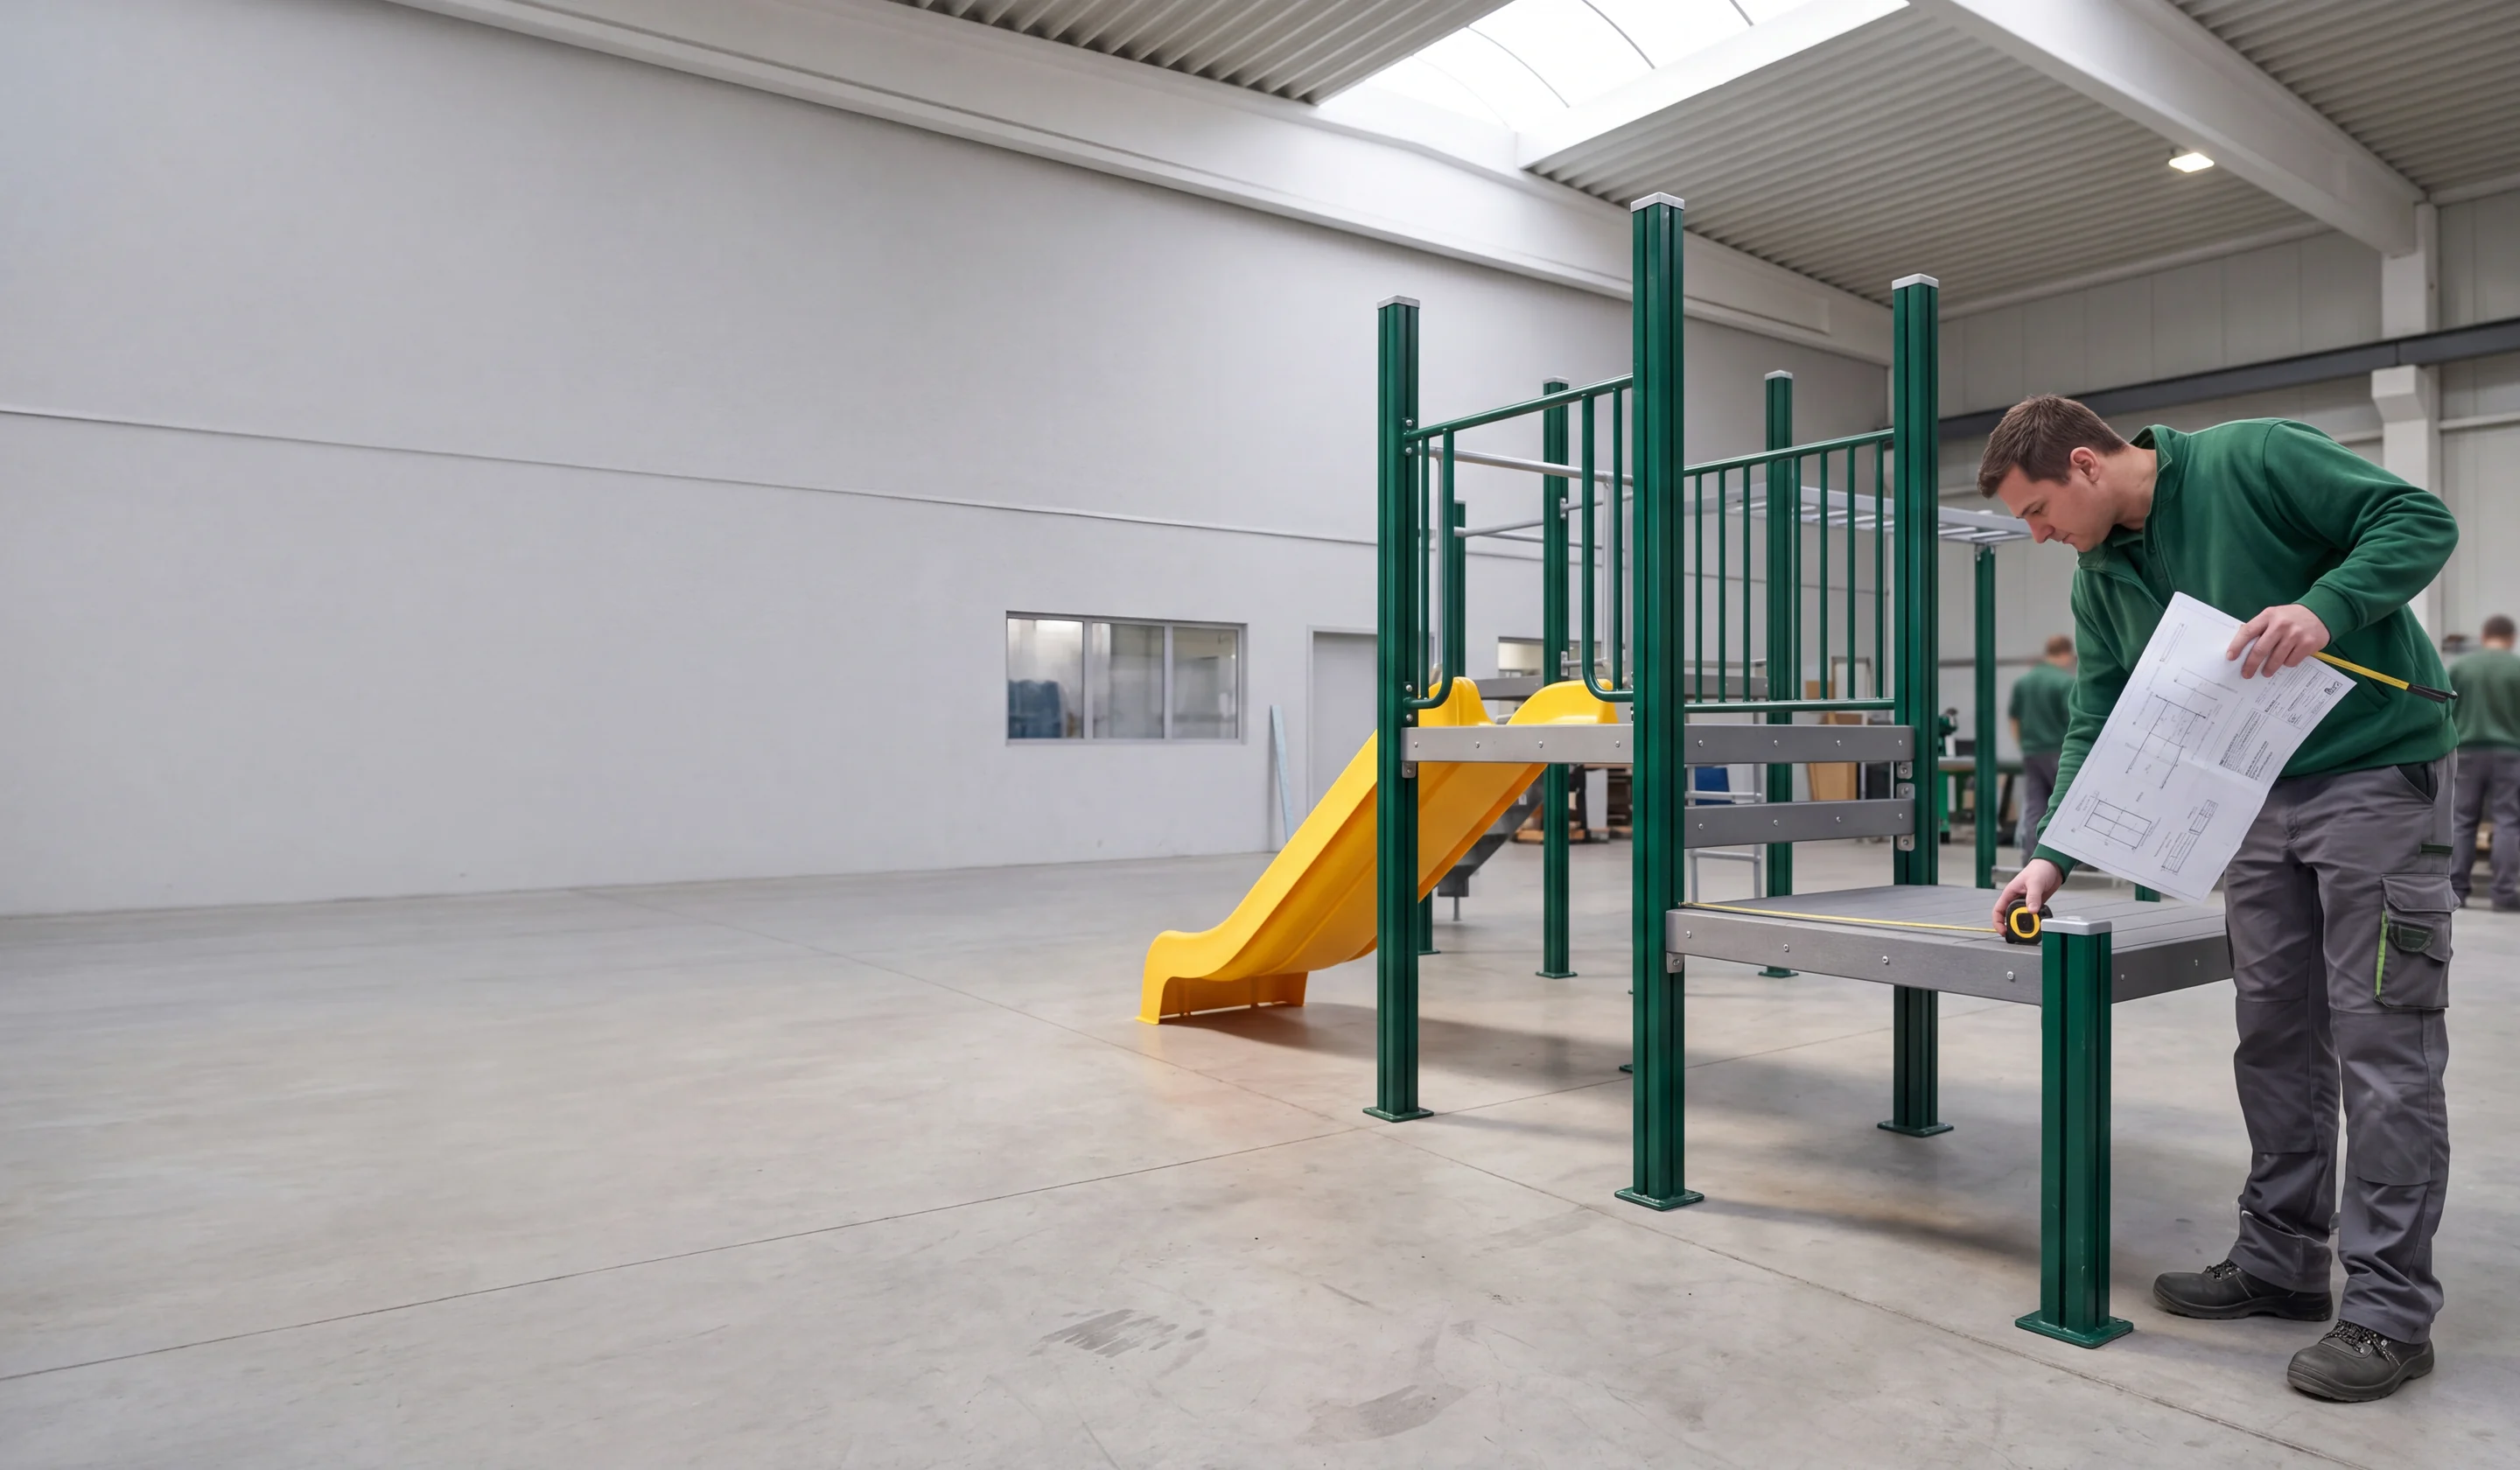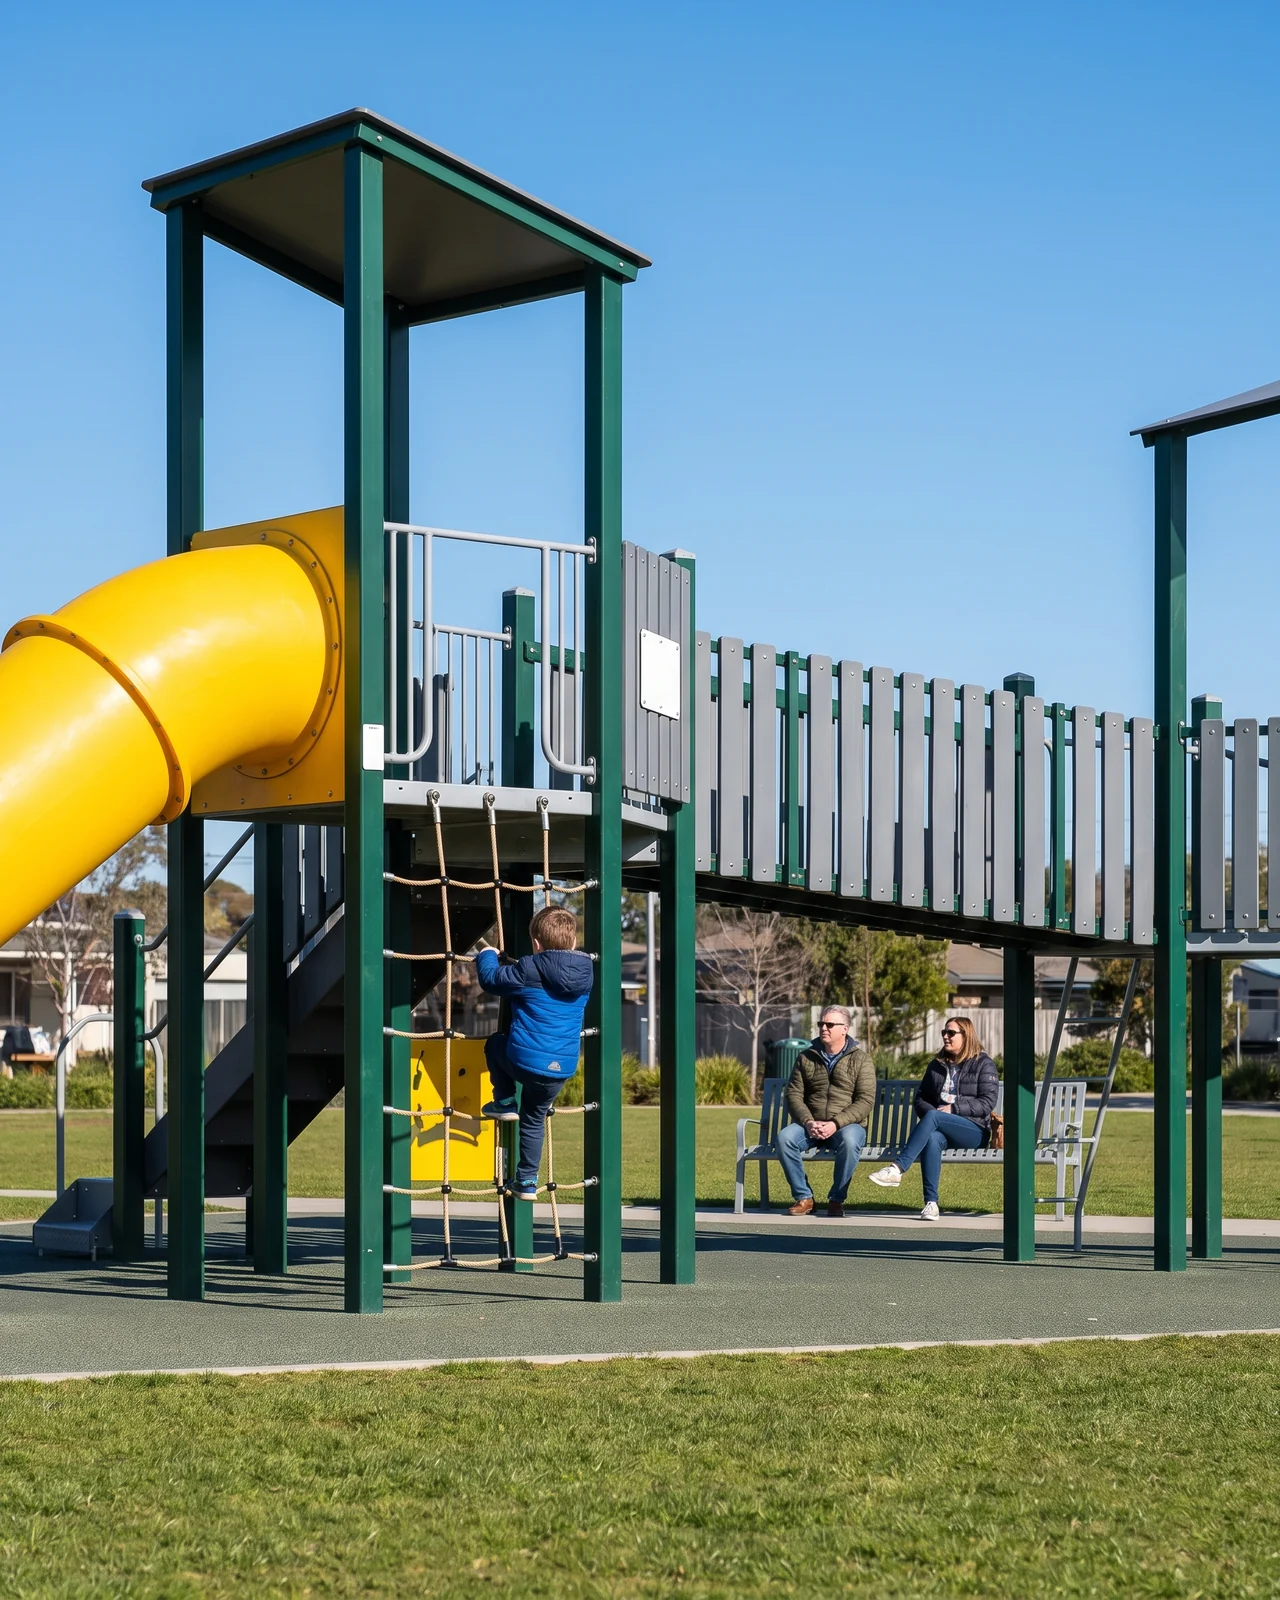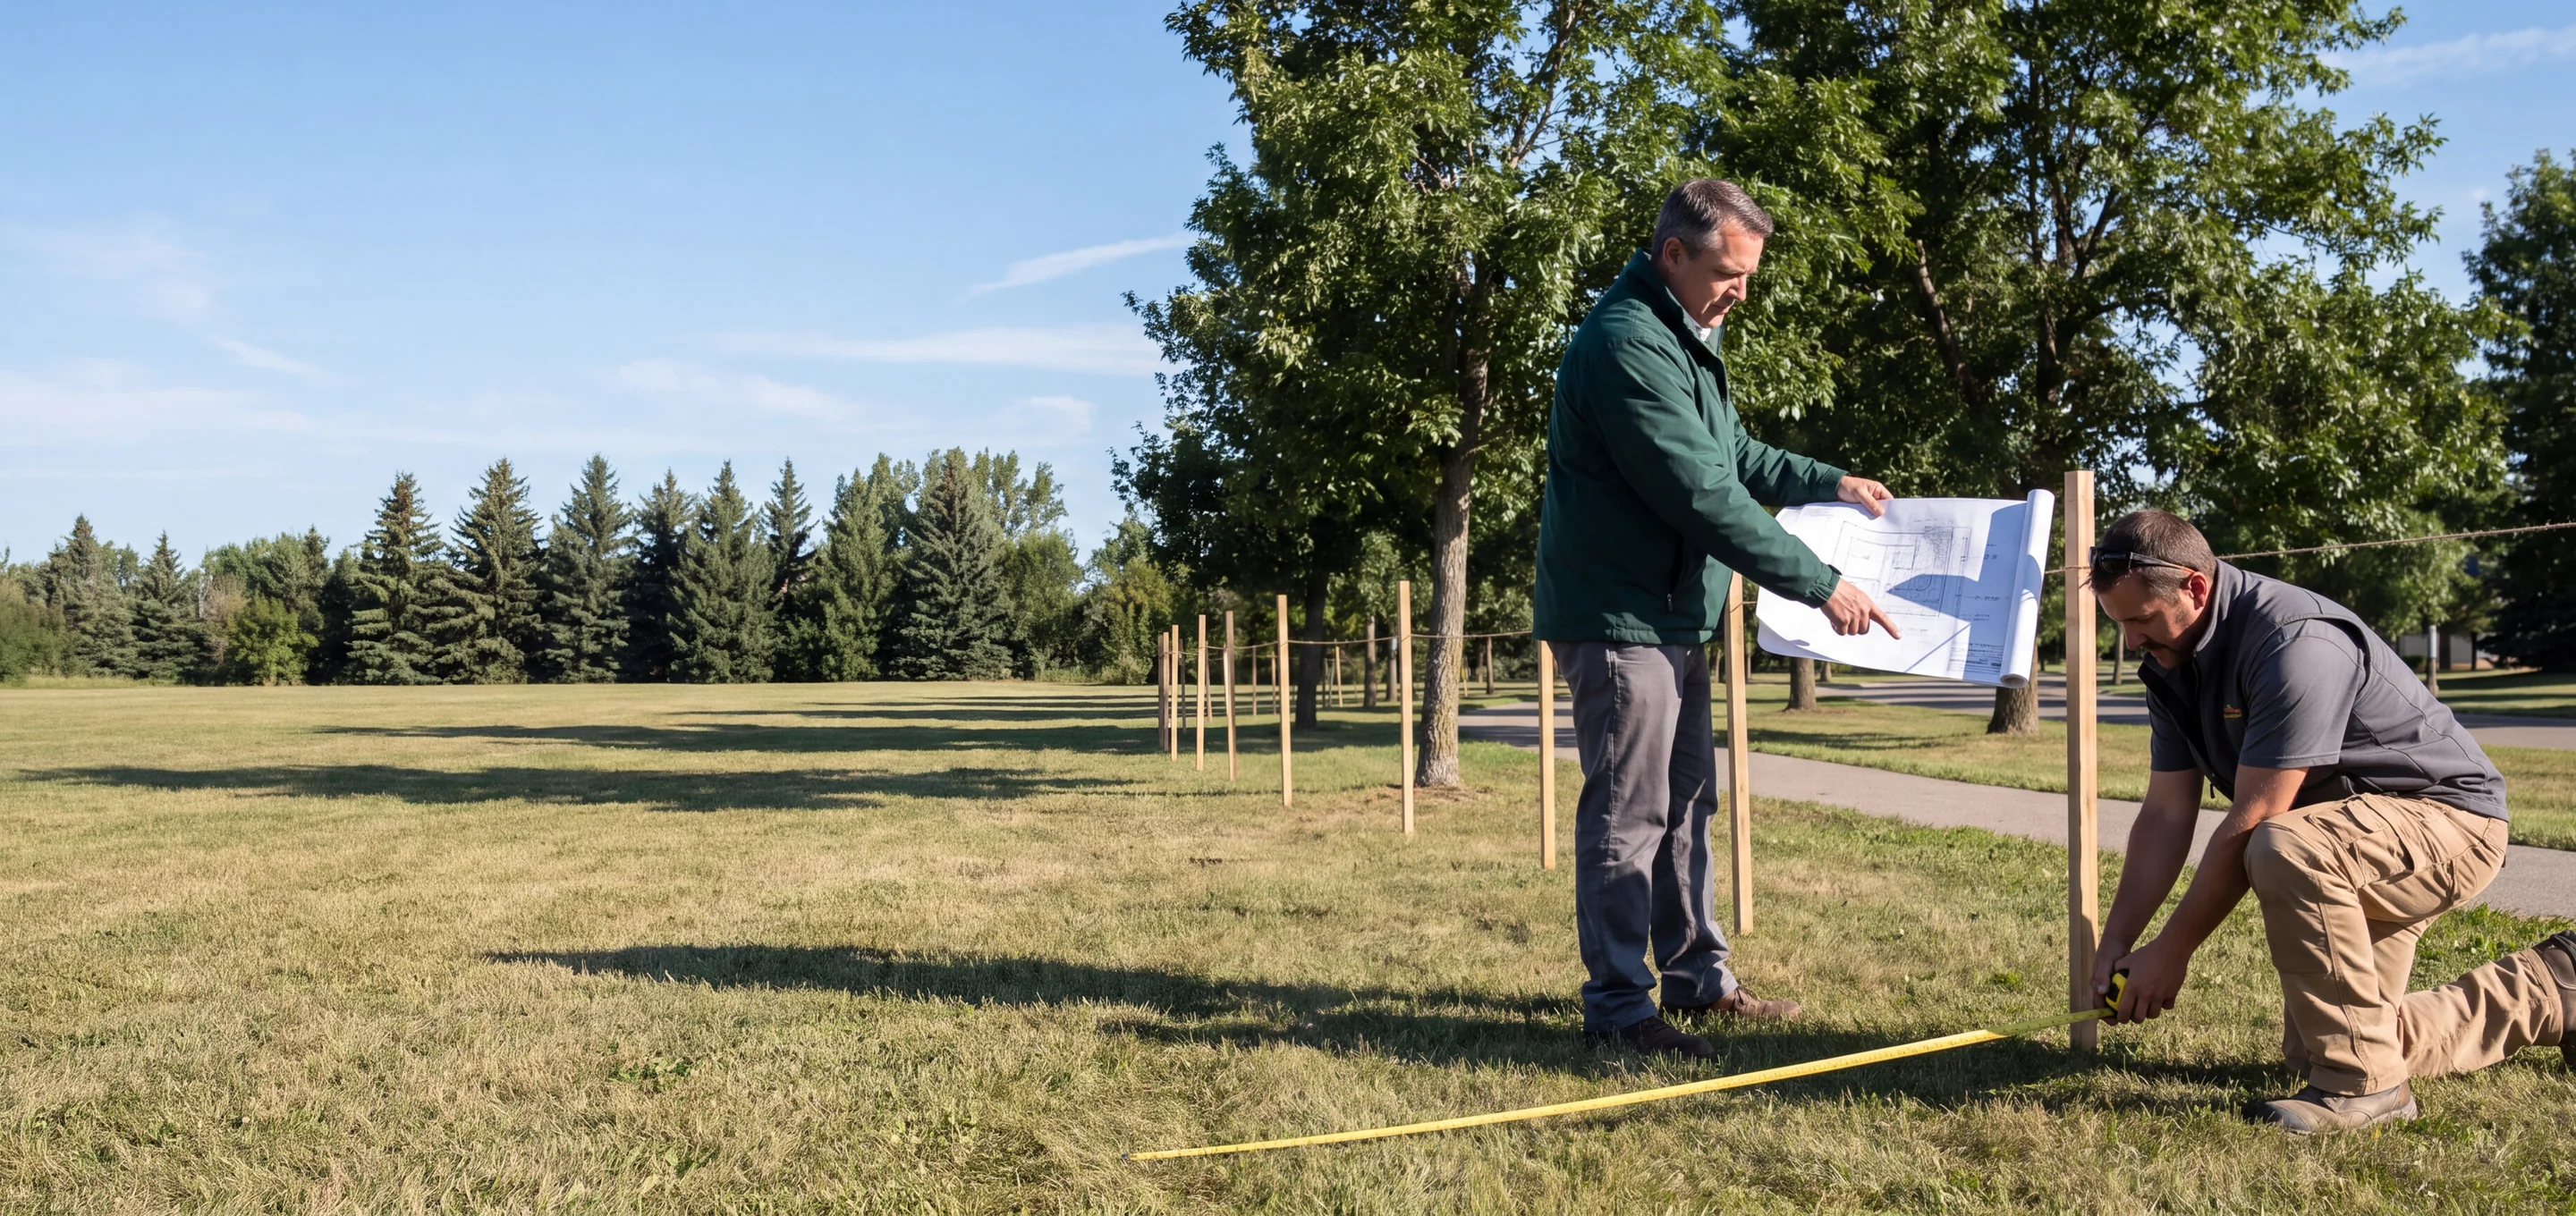

A playground layout is only as good as the information behind it. The design office draws every quotation from the same short list of inputs, and most layout revisions trace back to one missing input: an unmeasured slope, a column nobody mentioned, a standard chosen after the drawing was done.
This checklist is the list the Run Playgrounds design office works from. Send these eight inputs with your site plan and the first layout is the one you can price, approve and build.
Site Dimensions and a Scaled Site Plan
Start with the ground itself. A scaled plan with overall dimensions tells the designer how many play events fit, where use zones can overlap and where they cannot.
- Overall length and width, plus any irregular edges, in metres or feet.
- Fixed objects: trees you are keeping, light poles, benches, drains, fences and gates.
- Slope and ground type: grass, concrete, asphalt or bare soil. A slope changes footing depth and surfacing.
- Access: where visitors arrive, where maintenance vehicles enter, where parents sit and watch.
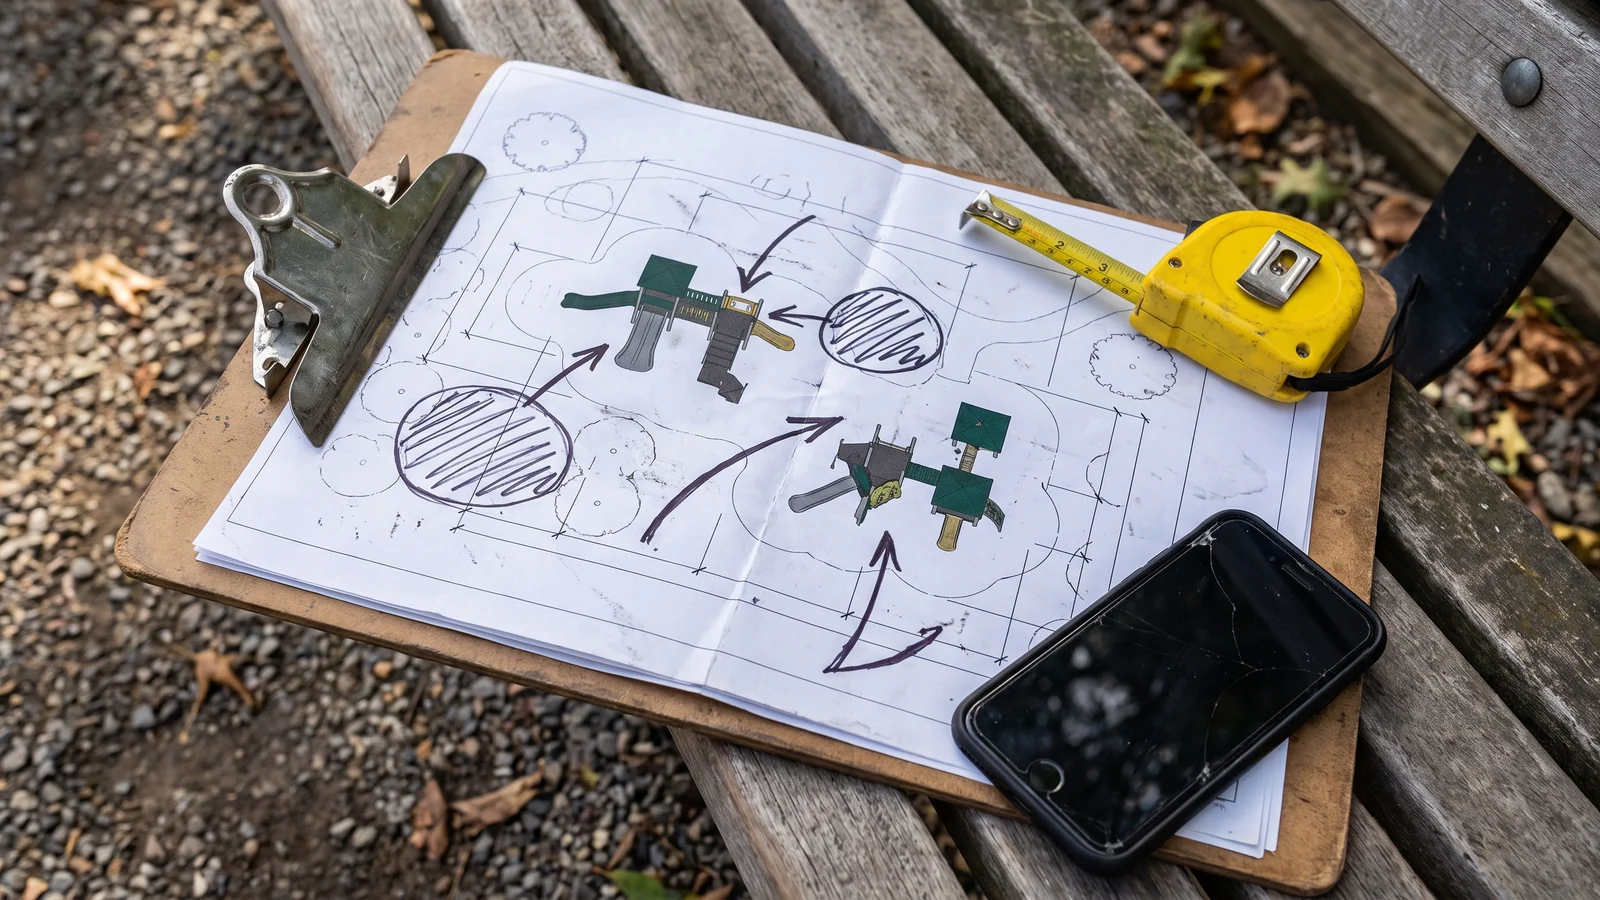
Age Groups and Expected Visitors
Age groups decide platform heights, step spacing and which standard applies to which zone. Visitor numbers decide how many play events the layout needs so children are not queuing at one slide.
Tell us the age bands you serve (for example 2–5 and 5–12), the busiest hour you expect and whether groups arrive together, as they do at schools and daycares. Areas for children under two follow their own rules, covered in the next section.
The Safety Standard Your Site Must Meet
Choose the standard before the drawing, not after. It changes fall heights, barrier heights, use zones and the documents that ship with your order.
Sites in the United States
Equipment is designed to ASTM F1487 for public playground equipment and the CPSC Public Playground Safety Handbook. Surfacing is specified to ASTM F1292, and play areas for children under two follow ASTM F2373.
Sites in Europe, the UK and Australia
Equipment is designed to EN 1176 and surfacing to EN 1177. Both standards drive the same design checks: head- and finger-entrapment gaps, use zones and fall heights, protective barriers above set platform heights, and no protrusions or sharp edges.
Third-party testing is arranged per project on request, and the compliance documents are listed in every quotation, so your inspector sees the same list you approved.
Run Playgrounds design office
Fall Heights and Surfacing
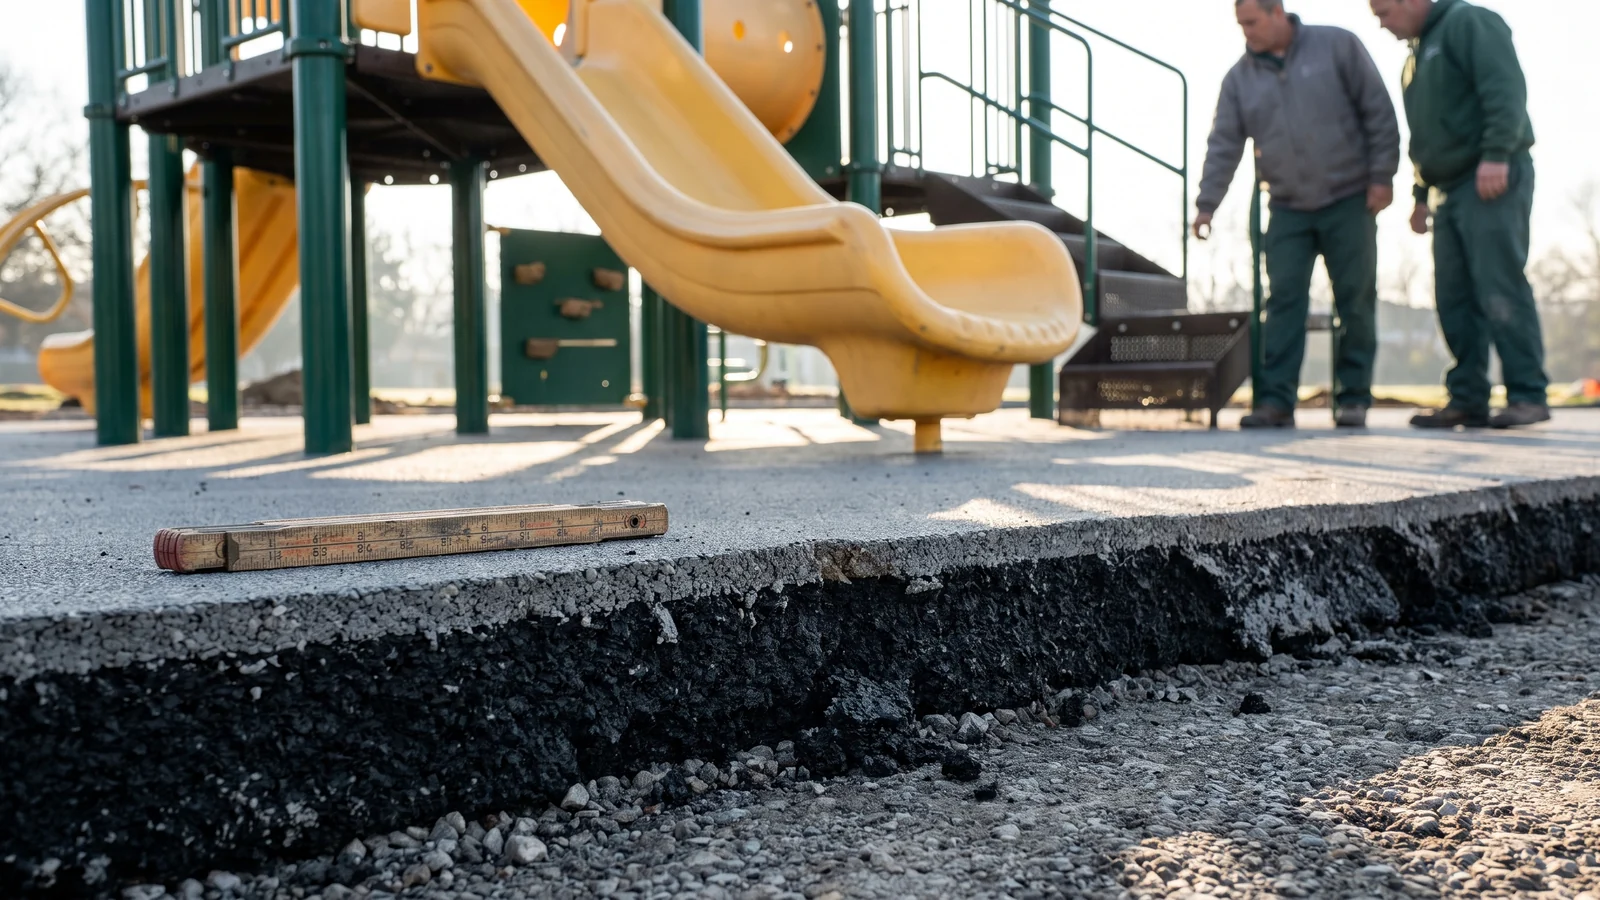
Surfacing is specified from the equipment, not from a catalogue. The critical fall height of each structure sets the thickness of the rubber tiles or poured-in-place EPDM underneath it.
| Surface option | Where it fits | What to tell us |
|---|---|---|
| Rubber tiles | Flat, prepared bases; phased projects that expand later | Base type and drainage |
| Poured-in-place EPDM | Seamless areas, accessible routes, custom colours and patterns | Accessible routes to include |
| Existing surface kept | Only if it meets the fall height of the new equipment | Current surface and thickness |
Indoor Venues: Columns, Ceiling Height and Exits
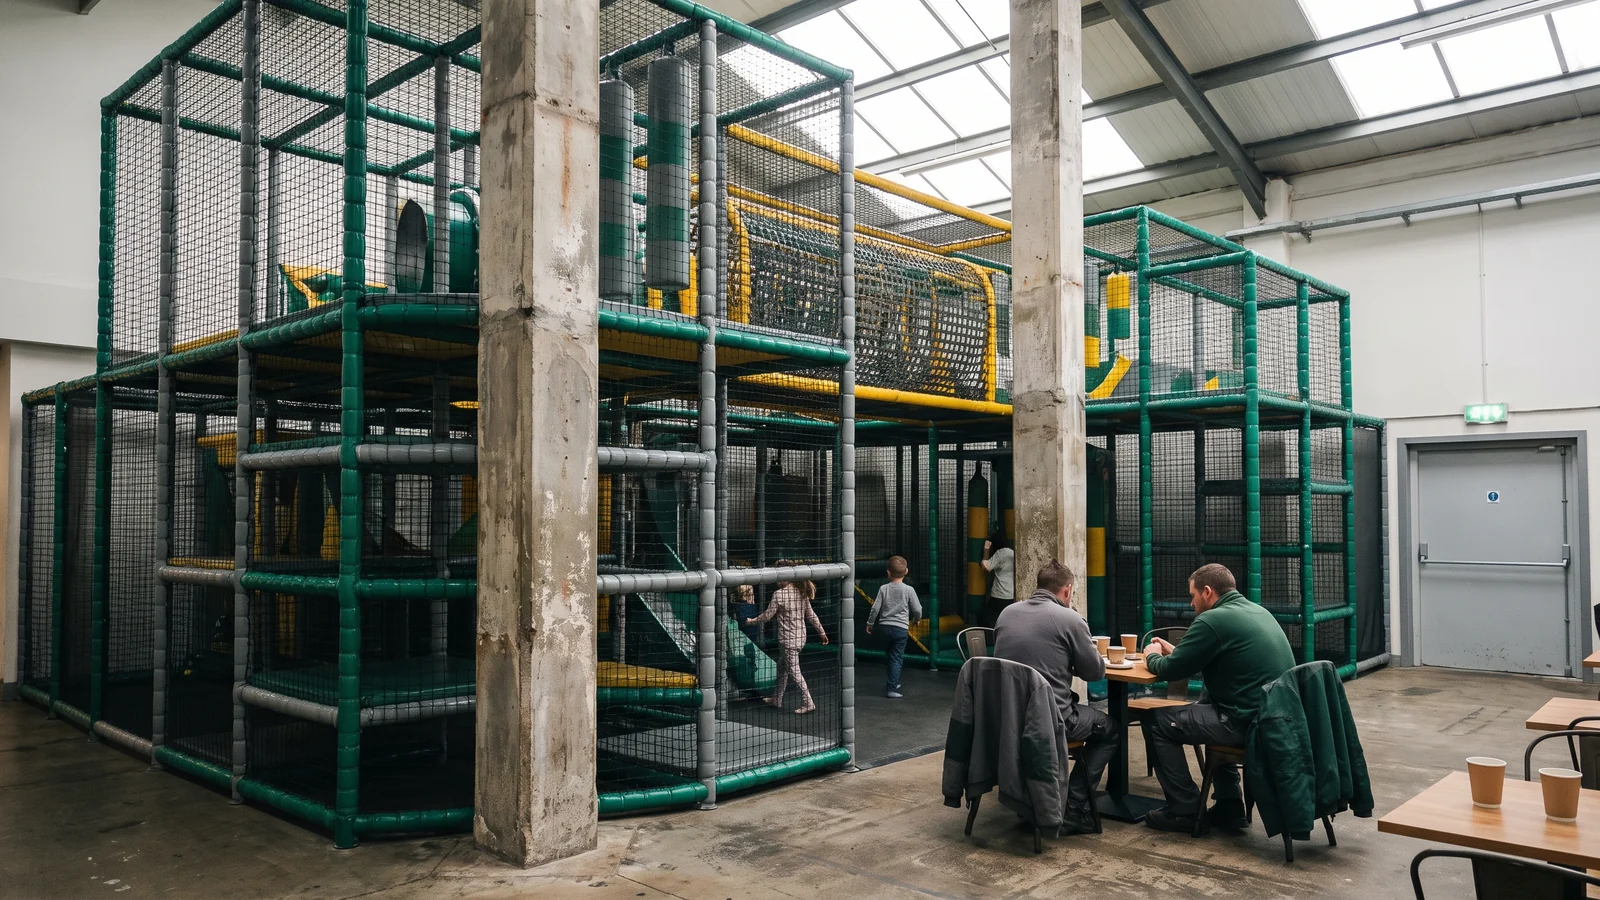
Indoor soft play, trampoline courts and ninja courses are built around the building. Three details move a layout more than anything else, so send them with the floor plan.
- Column positions, with column size. Structures are framed around them.
- Clear ceiling height under beams, ducts and sprinklers, not the height to the roof.
- Entrances and fire exits, so escape routes stay open and the café or party rooms sit where parents can see the play frame.
Theme, Colours and Inclusive Play
A theme can be as simple as two colours that match your brand, or as full as a nature, city or ocean story across every panel. Powder-coat colours are chosen from the RAL chart, and structures are kept to two or three colours so the site reads calmly from a distance.
If the playground must welcome children of all abilities, say so at the start. Inclusive layouts are planned around ADA accessible-route principles: ramps and transfer points, ground-level play events and a surface wheelchairs can cross.
Budget Range and Who Installs
A budget range is not a price commitment. It tells the designer whether to plan one large structure, several smaller ones, or a first phase that grows later. Projects start from one complete playground; dealer and OEM programs start from one 40HQ container.
What arrives in the container
The layout, the equipment, anchoring hardware, footing detail drawings with the concrete footing size for every post, numbered parts, installation drawings and step-by-step videos, and a spare hardware kit.
What your local team handles
Site excavation, concrete footings, local permits and inspections, and installation labour. Live video support is included, and an on-site supervisor can travel to the site on request.
Timeline From Site Plan to Container
With the inputs above, the calendar is predictable. Every item is made to your approved drawing, including standard freestanding pieces.
- Layout: 2D + 3D within 3 working days of your site plan.
- Revisions and approval: you sign off the drawing, the material spec sheet and the compliance document list.
- Production: 20–30 days after drawing approval, through four QC checkpoints.
- Pre-assembly: outdoor structures are assembled in the factory, every connection checked, then numbered and packed by installation sequence.
- Loading: 20GP or 40HQ containers, with loading photos of each container before it is sealed.
The One-Page Checklist
Copy this list into your email or WhatsApp message. Anything you cannot answer yet, leave blank: the layout shows the options.
- Scaled site plan or floor plan, with overall dimensions
- Photos of the site from each corner
- Age groups and expected visitors at the busiest hour
- Standard to follow: ASTM F1487 / CPSC, or EN 1176 / EN 1177
- Surfacing: existing surface, or new rubber tiles or poured-in-place EPDM
- Indoor only: column positions, clear ceiling height, entrances and fire exits
- Theme, brand colours and any inclusive-play requirement
- Budget range, and whether a local installer is already chosen