
- 01Site plan
- 02Layout + quotation
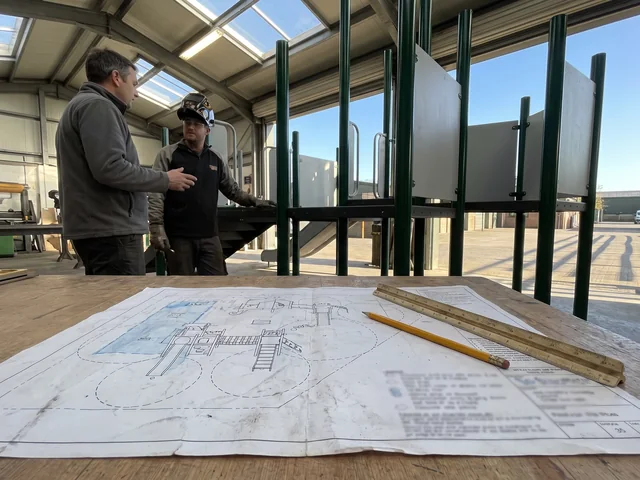
- 03Drawing approval
- 04Production · 20–30 days
- 05Pre-assembly
- 06QC + packing
- 07Loading plan
- 08Installation
Home › How We Build Playgrounds
Project timeline · 8 steps · 3 confirmation points
How We Build Playgrounds Layout Design, Steel and Rotomolding, Safety Testing and Installation Support
Playground equipment manufacturing for commercial projects, run as one timeline from your site plan to your installed playground, with three points where you confirm before the container leaves.
- Layout + itemized quotation in 3 working days
- Production 20–30 days after approval
- Photo updates at 4 points
- Electronic project package with the shipping documents
Project Timeline Eight Steps From Site Plan to Installed Playground
This is how playgrounds are built on a commercial project, step by step: what happens, what you receive and where the full process is explained. From drawing approval the playground project process runs on two tracks, one in the factory and one on your site.
01Site information
Site plan or dimensions, age groups, visitors, theme, budget range and your standard. Anna replies within 24 hours.
- You receive
- Your project manager
02Layout and quotation
The design office draws your site in 2D and 3D; the itemized quotation comes with it.
- You receive
- 2D plan · 3D renders · quotation
03 · Confirm 1Drawing approval
You approve the drawing. It becomes your installation drawing, with footing drawings for every post.
- You receive
- Installation + footing drawings
04Production
Steel, rotomolding, soft play sewing and partner orders start in parallel on the approval day.
- You receive
- Photos at start and after coating
05 · Confirm 2Pre-assembly
Outdoor structures are assembled complete in the yard; indoor frames are trial-assembled.
- You receive
- Photos and video, before packing
06QC and packing
Parts are checked against the packing list and packed in installation sequence, with a spare hardware kit.
- You receive
- Packing list keyed to part numbers
07 · Confirm 3Loading
You confirm the loading plan before the container is booked.
- You receive
- Loading photos of each container
Your site, same drawingWith the footing detail drawings from step 03, your installer can excavate, pour footings and apply for permits while production runs.
08Shipment and installation
Shipping documents and your project package arrive together. Your installer builds from footing drawings and numbered parts.
Layout and Quotation Returned Together Within 3 Working Days
The first file you receive is a drawing of your own site with a price against every piece on it.
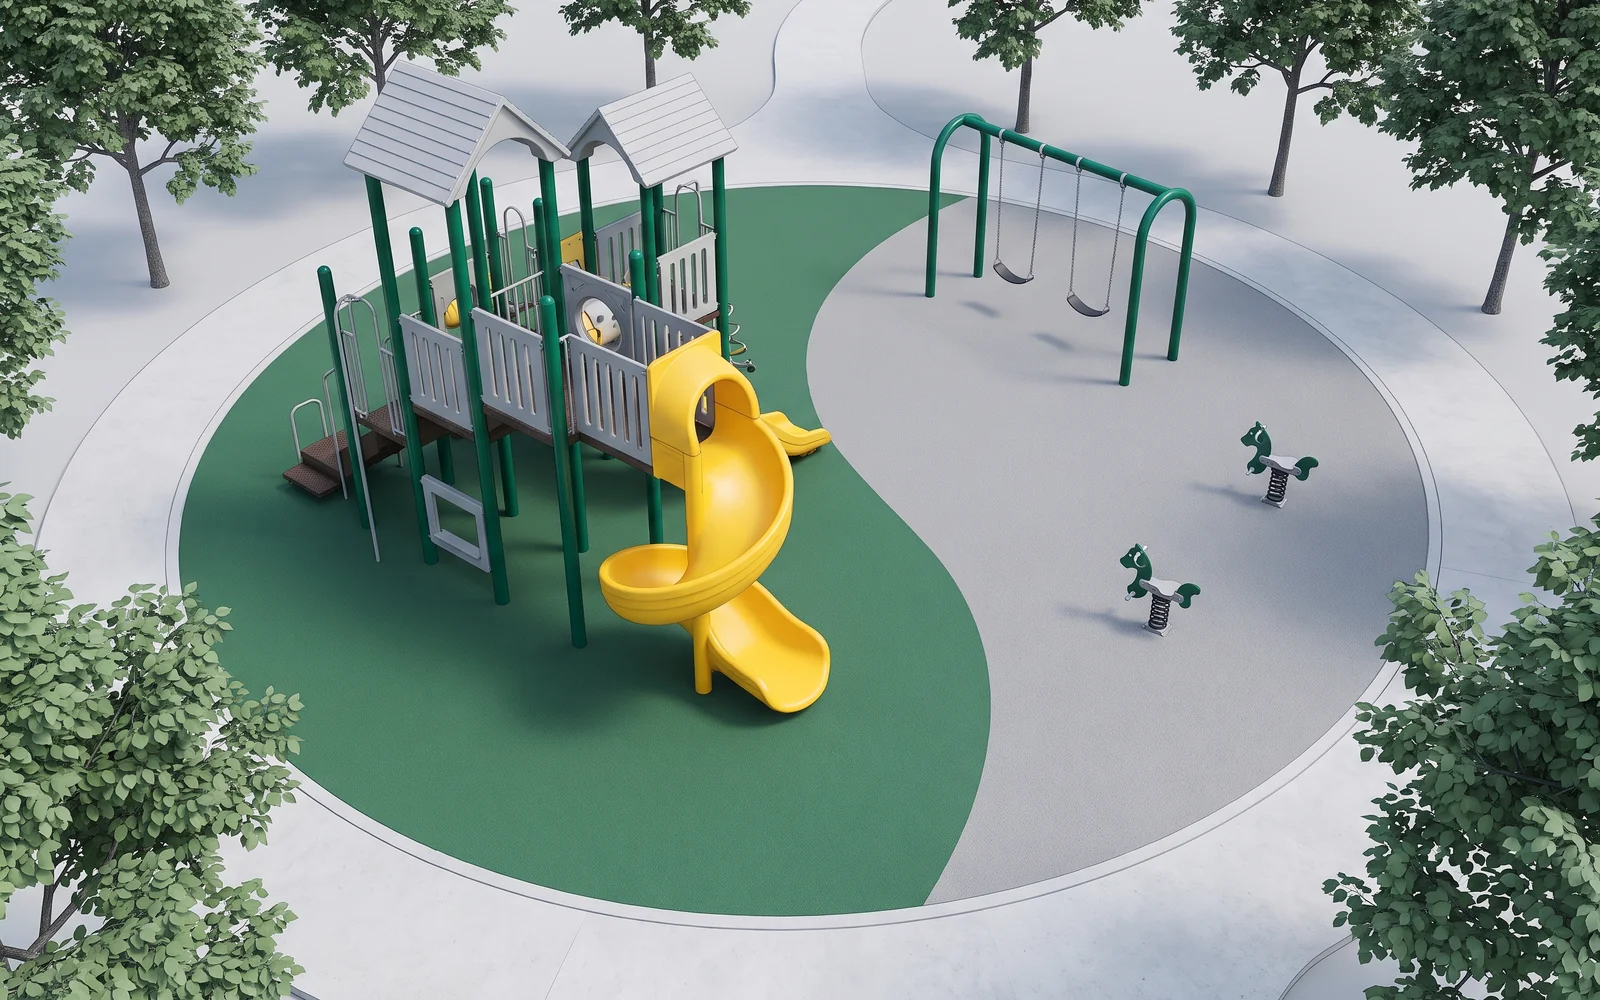 3D render · your theme and colors
 2D plan · age zones · use zones · surfacing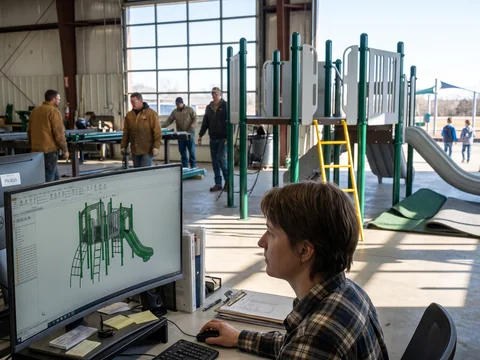
| Item | Spec sheet | Compliance |
|---|---|---|
| Multi-deck structure S1 | Posts Ø114 × 3.0 mm, galvanized and powder coated · 19 mm HDPE panels · 304 stainless fasteners | ASTM F1487 / EN 1176 |
| Spiral slide | Rotomolded UV-stabilized LLDPE, 8 mm wall | ASTM F1487 / EN 1176 |
| Climbing net | 16 mm six-strand rope with steel core | ASTM F1487 / EN 1176 |
| Surfacing | Rubber tiles or EPDM, thickness by critical fall height | ASTM F1292 / EN 1177 |
Every line priced · spec sheet per line
What the design office draws
The 2D plan places every structure and freestanding piece on your ground, with age zones, use zones and the surfacing under each piece. The 3D renders show the same site in your theme and colors, ready for a client, a board or a tender panel.
What the quotation carries
Your project manager prices the layout item by item. Each line has its material spec sheet: post diameter and wall, coating, panel thickness, rope and fasteners. The compliance documents for your standard are listed on the same quotation.
How revisions work
Comment on the layout and the design office returns a revised layout, with the quotation updated to match. Revisions continue until you approve.
For dealers
Layout, renders and quotation can be issued unbranded or under your brand, from your first request. Custom themes, colors and logos are drawn at this step too: custom playground solutions.
Safety Standards on Your Project Named at Step One, Drawn and Listed on the Quotation
The standard enters your project with your site information, and every later file follows it.
01Site information
You name the standard your project must follow.
ASTM F1487 + CPSCEN 1176 + EN 1177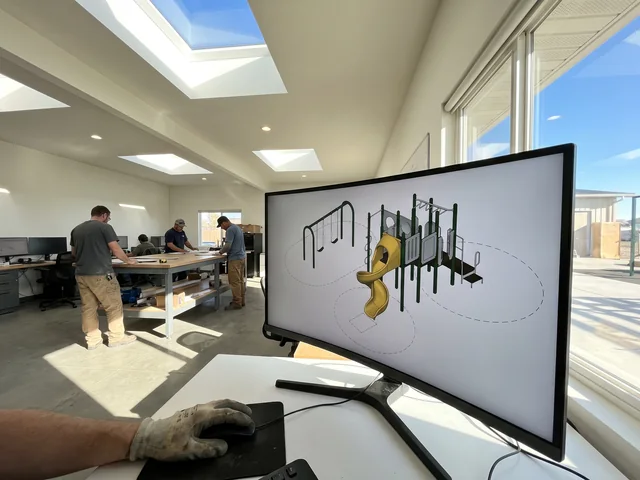
02Layout
The design office draws to it: use zones, fall heights, entrapment gaps and protective barriers above the set platform heights.
ASTM F1487 + CPSCEN 1176 + EN 1177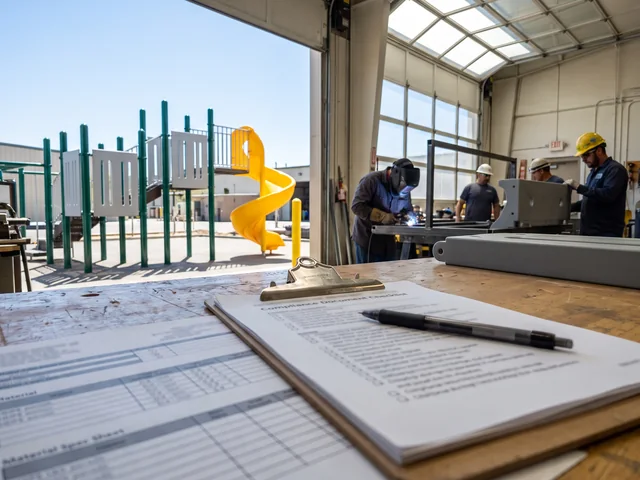
03Quotation
The compliance documents for that standard are listed line by line.
ASTM F1487 + CPSCEN 1176 + EN 117704Approved drawing
Workshops make to it, and QC checks against it.
ASTM F1487 + CPSCEN 1176 + EN 1177USA
- ASTM F1487 + CPSC
- Outdoor equipment, with the CPSC Public Playground Safety Handbook
- ASTM F1292
- Surfacing
- ASTM F2373
- Areas for children under 2
- ASTM F1918
- Indoor soft play
- ASTM F2970
- Trampoline courts
- ASTM F3101
- Outdoor fitness
- ASTM F1951
- Accessible surfacing
UK, EU and Australia
- EN 1176
- Playground equipment
- EN 1177
- Surfacing
- EN 16630
- Outdoor fitness
Inclusive layouts follow ADA accessible-route principles. Third-party testing, and fire testing of soft play materials, are arranged per project on request.
Drawing Approval What Locks and What Is Issued on the Approval Day
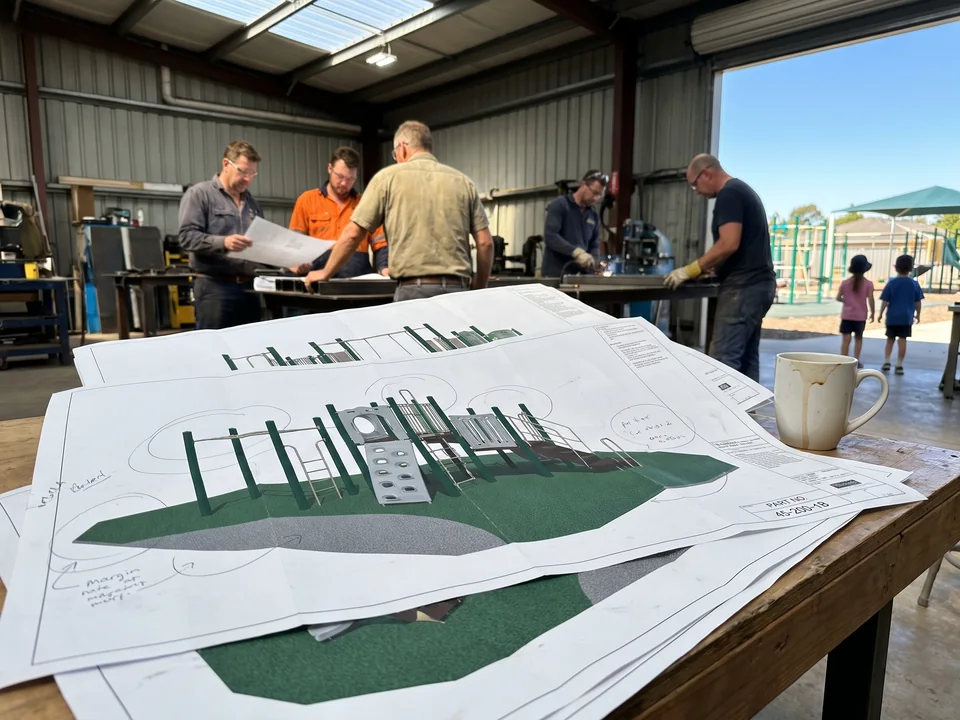
Drawing approval turns your layout into a production order. It is your first confirmation point, and it starts two lines of work at once: one in the factory and one on your site.
What you approve
The drawing shows every structure, its position and its parts. For custom work it also carries theme elements, colors and logos.
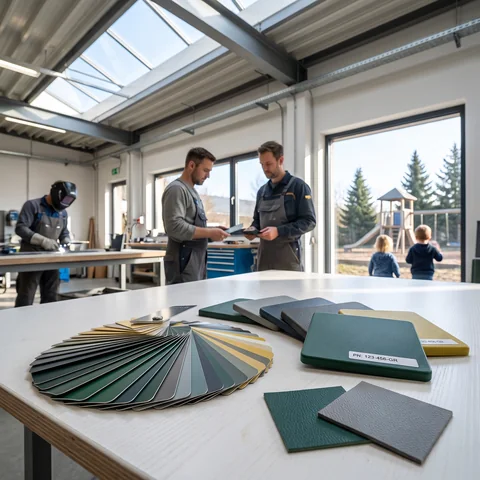
Custom colors are confirmed before production with RAL chips, rotomold color samples or PVC leather swatches, sent or photographed for your approval.
What locks when you sign
- 01The layout and every structure on it
- 02All customization: theme elements, RAL colors part by part, logo positions
- 03The part numbers, in the {structure}-{part} format, kept through every later fileS2-021
- 04The reference QC checks every part against
What is issued from the approved drawing
Dwg · installation
The approved drawing becomes the drawing your installer builds from.
Dwg · footing detail · every post
Every post, shade posts included, gets a concrete footing size.
Orders · steel, rotomolding, sewing
Cutting and welding, rotomolding and soft play sewing start on the approval day, in parallel.
Orders · partner factories
Inflatables, rides, splash pad parts, surfacing, shade sail fabric, jump beds and springs, ordered the same day to the same drawing.
Date · loading
Your project manager sets one loading date that every workshop and partner factory is scheduled back from.
See the schedule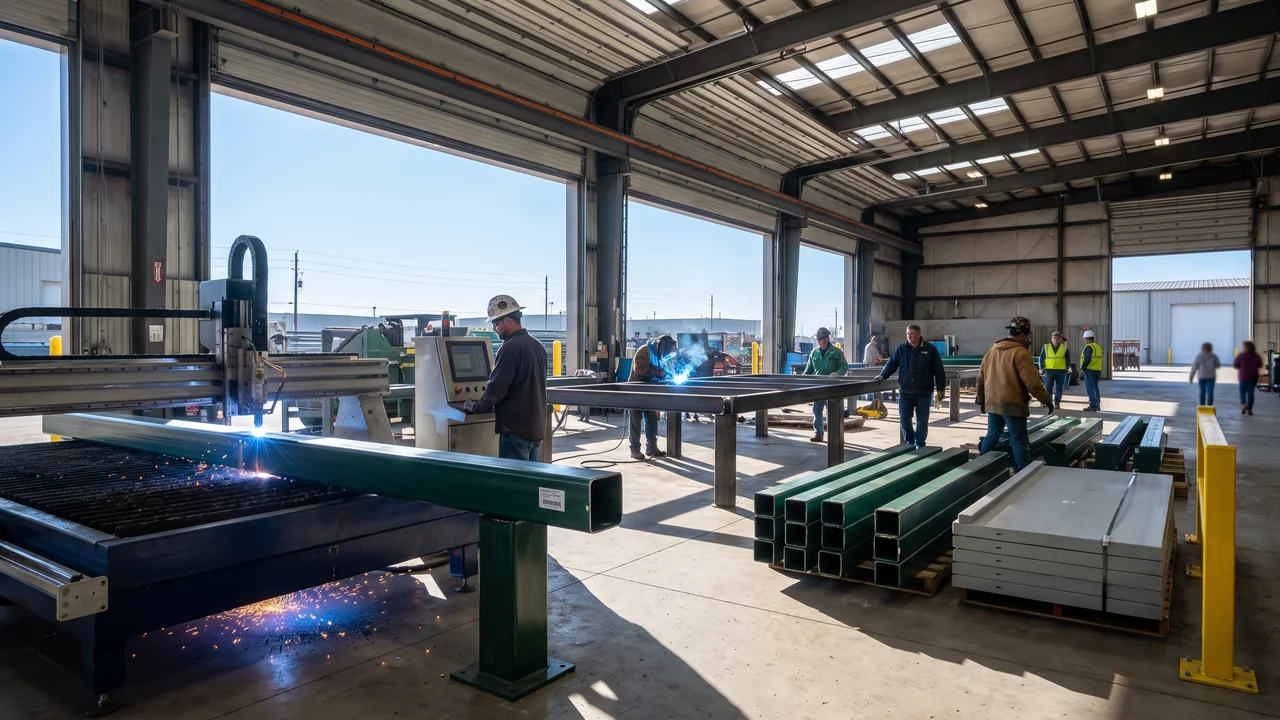
In the workshops and partner factories
Supplied with your order
- Installation drawings
- Footing detail drawings
- All equipment, as numbered parts
- Anchoring hardware for every post
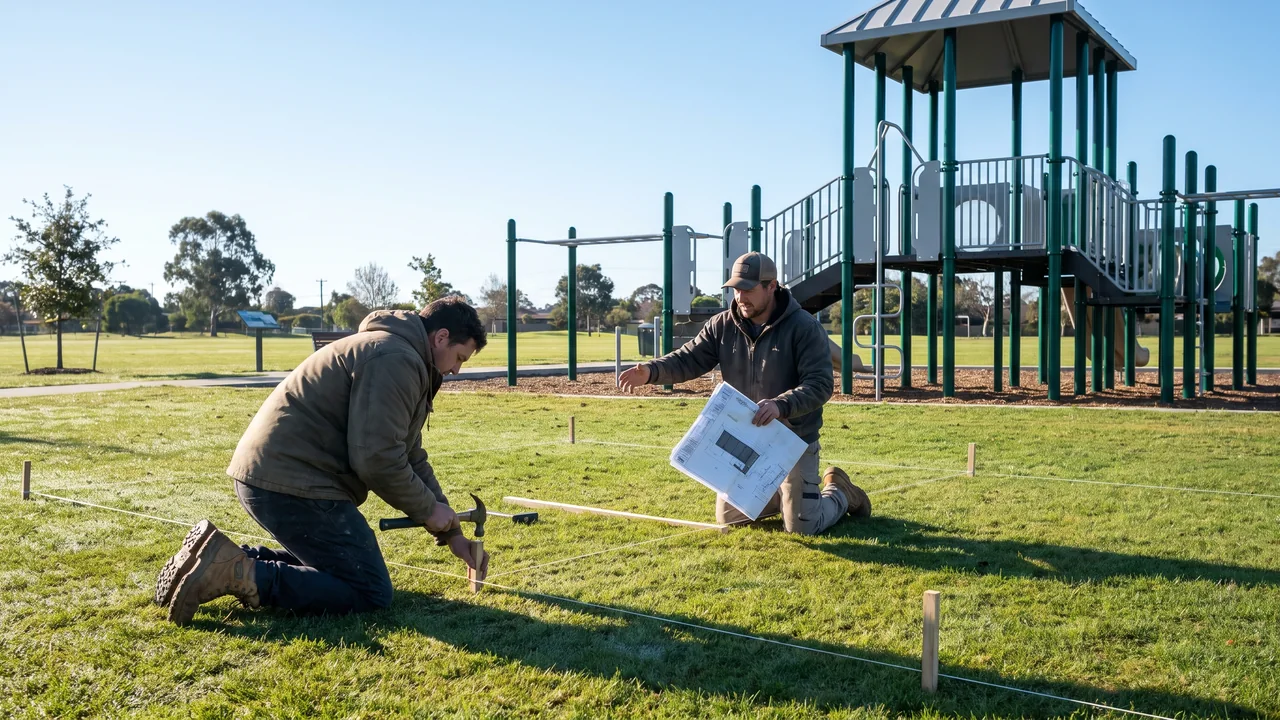
On your site
By you or your installer
- Excavation
- Concrete footings
- Local permits and inspections
- Installation labor
With footing detail drawings in hand, your local installer can excavate, pour footings and apply for permits while production runs.
When you need a change after approval
The change goes onto a revised drawing that you approve, and your project manager confirms the loading date again, so you know where the change leaves your schedule before any part is made to it.
Send your site plan, age groups and standard to Anna, Sales Manager. Your layout and itemized quotation come back within 3 working days.
WhatsApp · Anna, Sales Manager
Reply within 24 hours on business days
Production Sequence 20–30 Days Scheduled Back From One Loading Date
Playground equipment manufacturing on your project takes 20–30 days after drawing approval, for outdoor structures, soft play and trampoline courts alike. Every item, spring riders and fitness stations included, is made to your drawing on one commercial playground production schedule.
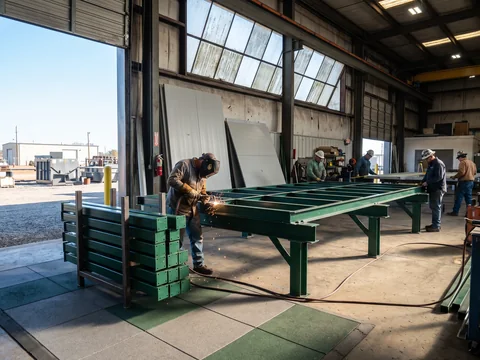
- R1Steel: cut, bend and weld · galvanize · blast and powder coat · pre-assembly · QC and packing
- R2Rotomolding: slides, tunnels and roofs · QC and packing
- R3Panel and CNC: HDPE panels · QC and packing
- R4Soft play sewing: padding, covers and nets · trial fit · QC and packing
- R5Partner factories (dashed): partner-built items · inspection by our QC
Sequence, not to scale · all rings start on the approval day
The order parts move in
- 01
Approval day, in parallel
Steel is cut, bent and welded into posts, frames and decks. Slides, tunnels and roofs are rotomolded from in-house steel molds. HDPE panels are CNC-cut. Padding, covers and nets are sewn. Partner factories start their items.
- 02
Coating follows welding
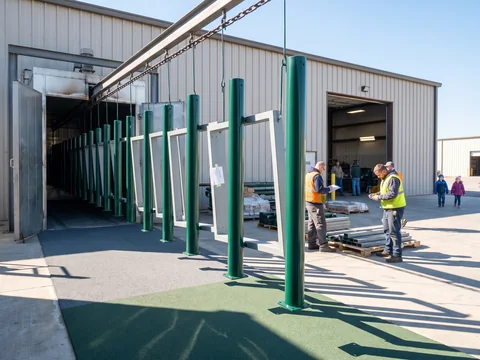
Welded steel is hot-dip galvanized at a partner plant, then blasted, powder coated and cured on the in-house line.
- 03
Pre-assembly follows coating
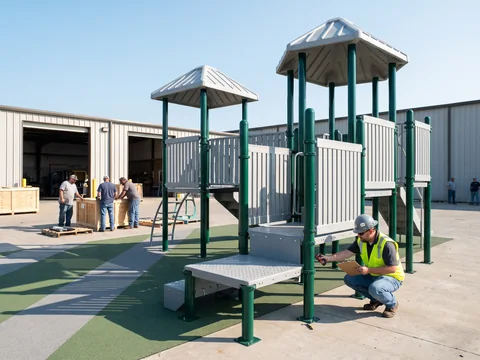
Outdoor structures are assembled complete in the pre-assembly yard. Soft play, trampoline court and ninja course frames are trial-assembled to check hole positions and connections.
- 04
Final QC and packing
Parts are checked against the packing list and packed in installation sequence.
- 05
Loading
Parts from the workshops and partner factories go into the same container plan.
How one date holds it together
Your project manager schedules every workshop and every partner factory back from the loading date set at approval. A partner-built item that fails inspection is remade or replaced before loading, so it does not ship late in a second container.
What you see during production
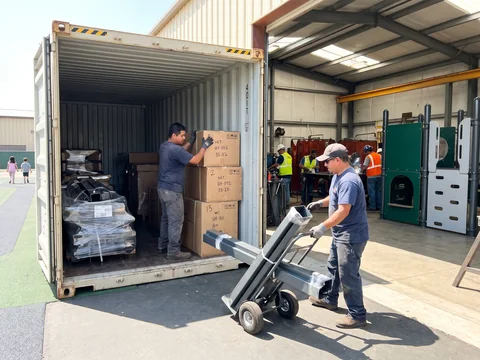
Who checks the parts
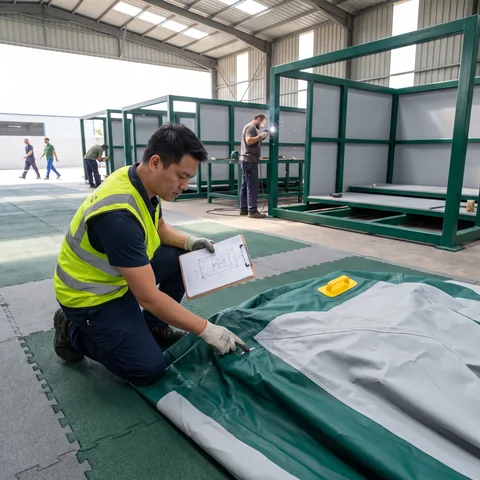
The QC team, independent of production, checks material, welds and coating, and inspects partner-built items before loading. How QC holds and releases parts is set out on the about page.
Your Three Confirmation Points Drawing, Pre-Assembly Video, Loading Plan
A project passes three points where you confirm before the work moves on. At each one you receive something you can check against your drawing.
Step 03Drawing approval
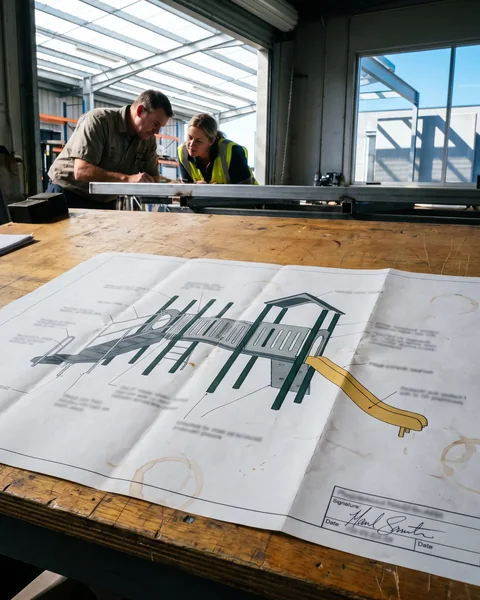
Your signature starts production and fixes the part numbers. What locks on the approval day.
Step 05 · before packingPre-assembly video of your own structures
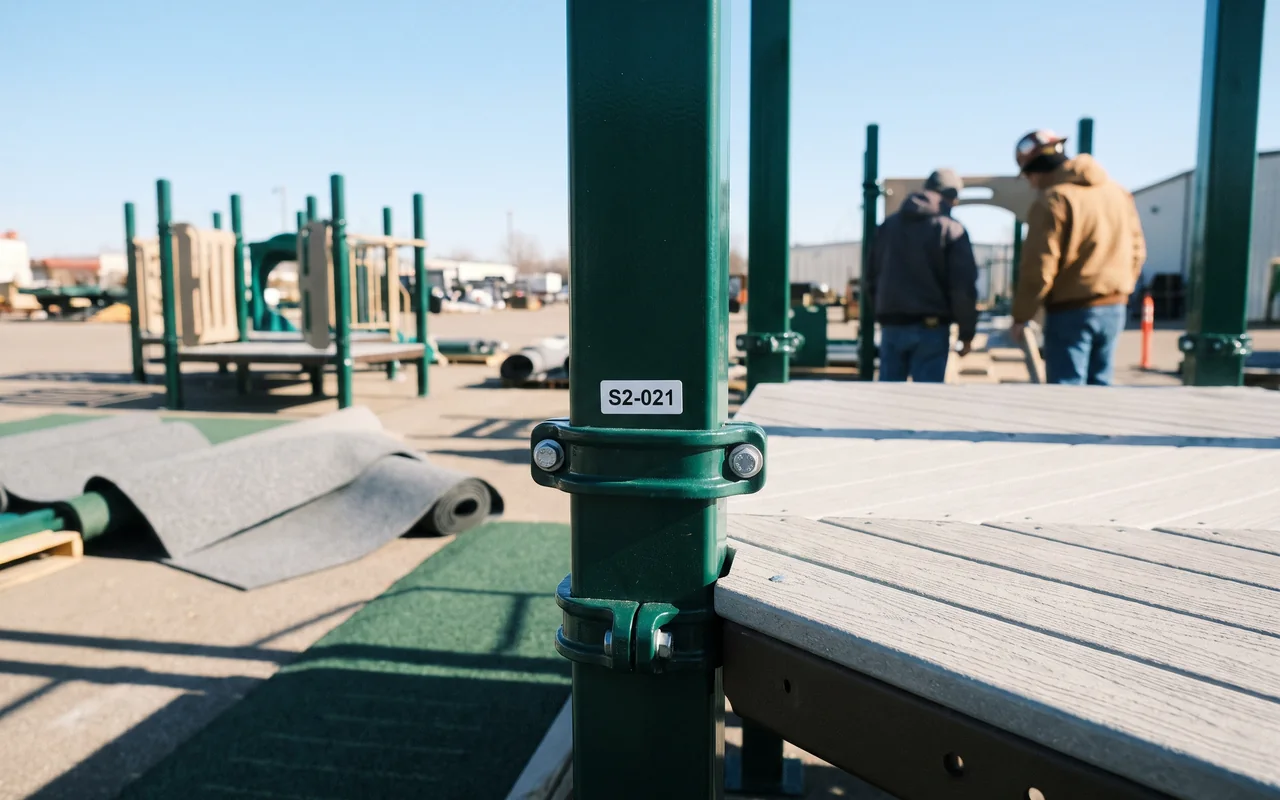
You receive photos and video of your own structures, with close views of connections and part numbers to match against the installation drawing.
- OutdoorStructures stand complete in the yard
- IndoorTrial-assembled steel frames and padding test-fitted on sample sections, part numbers visible
- TrampolineSample cells fully hung with bed and springs
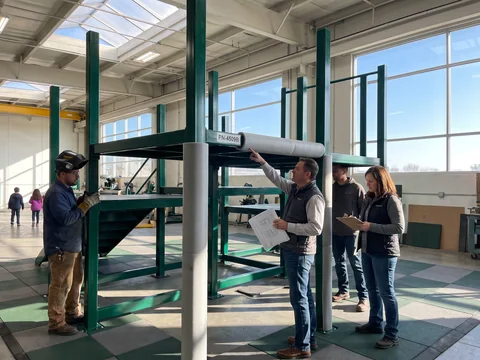
Raise comments before packing. A part that needs correcting is corrected in the factory and refitted; the QC team signs off the assembled structure, and only then is it taken apart and packed. The full pre-assembly check.
Step 07 · before bookingLoading plan
40HQ · plan viewExample
In-housePartner-built
The plan shows 20GP or 40HQ containers and where each category and each structure's boxes sit. On mixed projects, play structures, surfacing, shade sails, inflatables and rides share one plan. You confirm it, then the container is booked.
What follows the last confirmation
Loading photos of each container are sent before it is sealed. Together with the pre-assembly video and the packing list, they show exactly what left the factory for your site.
Three times before the container leaves, you see your own project and can comment, so a problem is fixed in the factory yard.
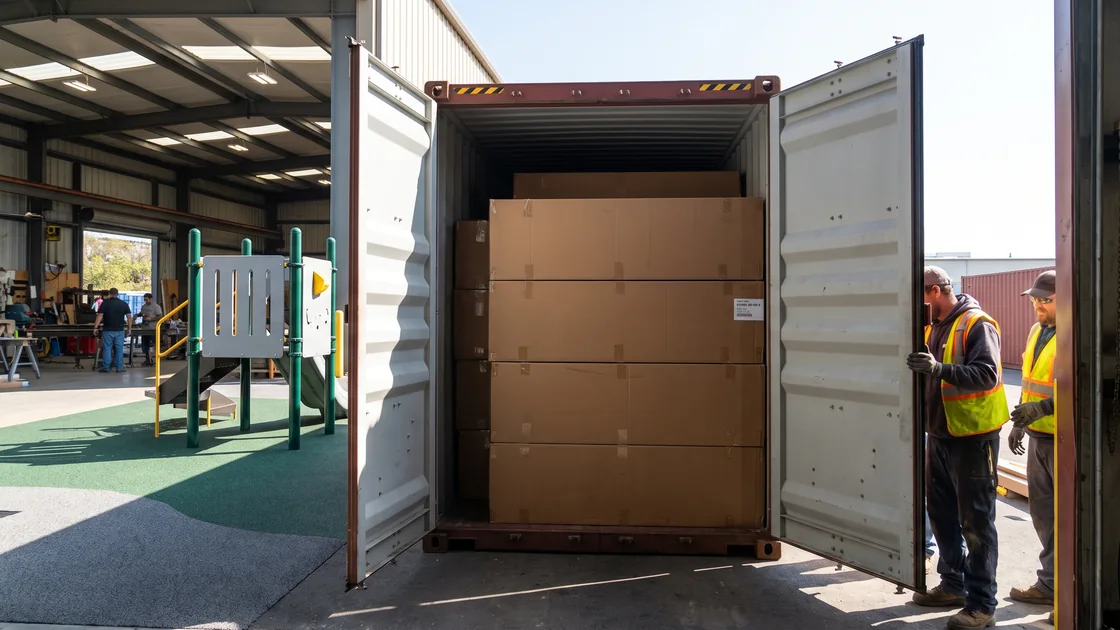 Photographed before sealing
You see your own structures standing complete before a single box is packed.
Pre-assembly videoYour structure
Before packing
One Part Number Through Seven Records Following Post S2-021
Every part on your project carries one number from the approved drawing onward. Here is one post, S2-021, the twenty-first part of structure S2 on your layout, followed through your project.
What your installer does with the number
On arrival, each box is checked against the packing list. The post can be measured against the spec sheet for diameter and wall thickness, then set into its footing by the number on the installation drawing.
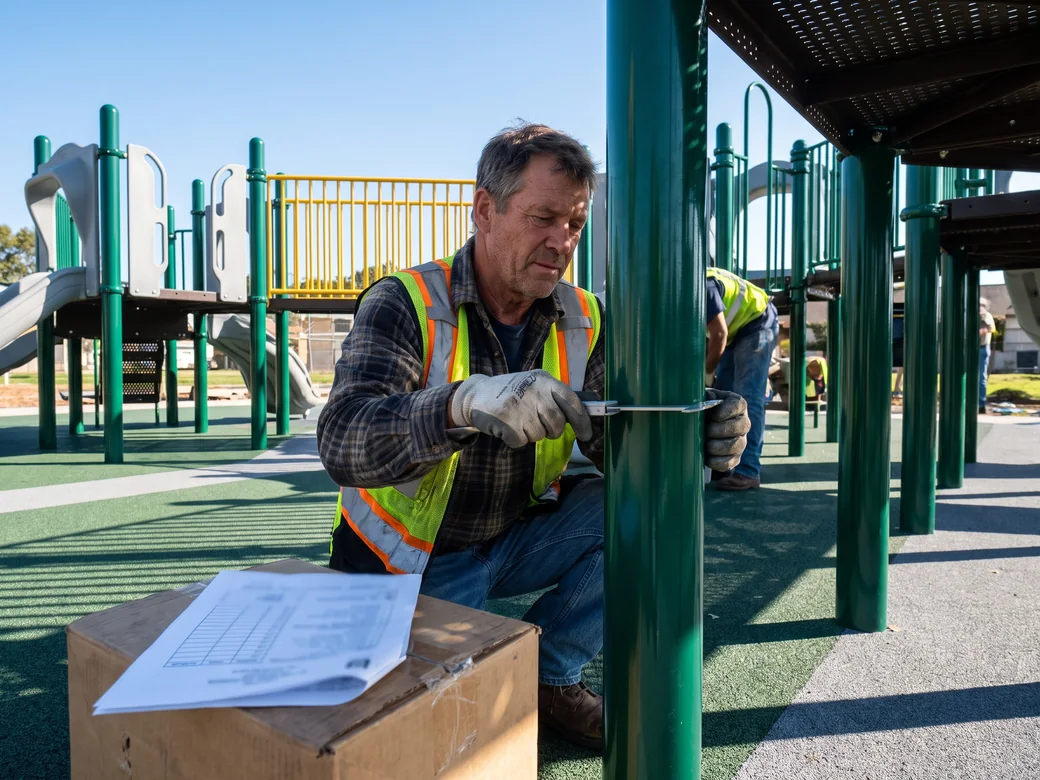
Where the number applies
Steel posts and frames, rotomolded slides, tunnels and roofs, HDPE panels, rope sections, soft play padding, nets and mats, and partner-built items all carry numbers keyed to their structure. A phase 2 order or a replacement slide is made to the same project file.
01Installation drawing
Step 03S2-021
When you approve the drawing, S2-021 is fixed as a Ø114 mm galvanized steel post with a 3.0 mm wall, in its position on structure S2.
Ø114 mm · 3.0 mm wall · galvanized + powder coated
02Footing detail drawing
Step 03S2-021
The same post has its concrete footing size on the footing detail drawing. Your installer can pour that footing during the 20–30 days of production.
Issued on the approval day · every post
03Progress photo · after coating
Step 04S2-021
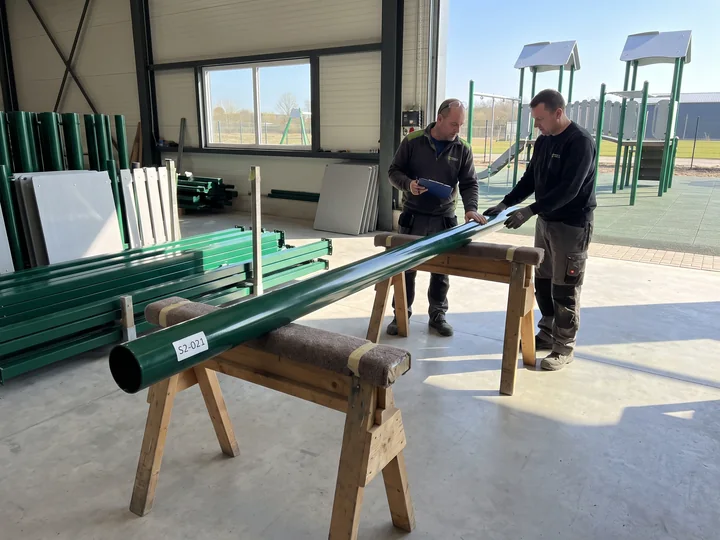
The post is cut and welded in steel fabrication, galvanized, then powder coated in the color on your drawing. You see it in the after-coating photo update.
Photo 2 of 4
04Pre-assembly video
Step 05S2-021
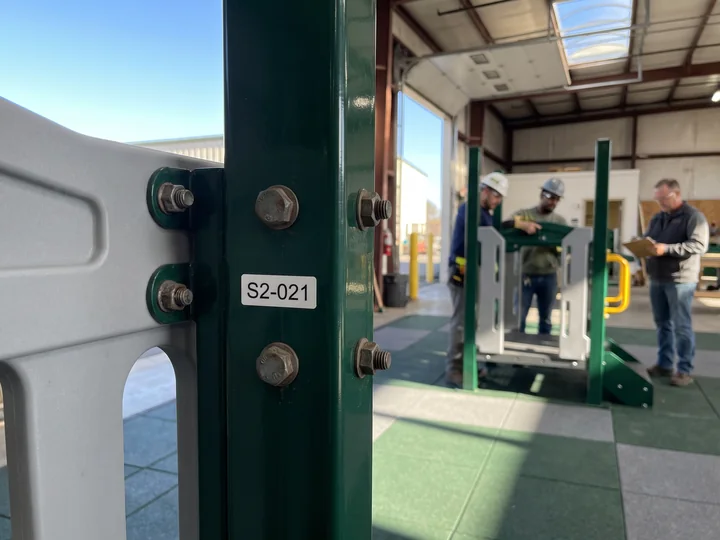
S2-021 is bolted into structure S2 in the yard. The video shows close views of its connections and its number. If you comment on it, the fix is made and refitted before packing.
Confirmation point 2
05Packing list and label
Steps 06–07S2-021
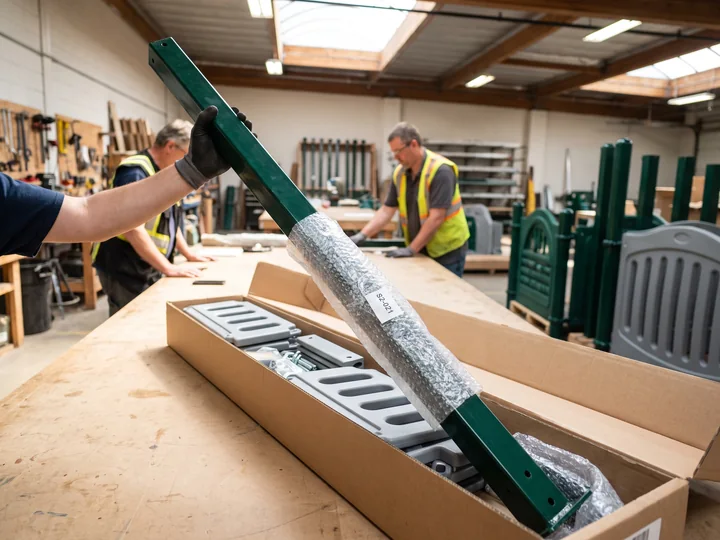
After QC sign-off, the post is labeled S2-021, wrapped in bubble film and cartoned with the parts your installer needs for structure S2. The packing list shows the number and the box; the loading plan shows where structure S2's boxes sit.
Packing list · S2-021 · post · box for structure S2
06Project package · part list
Step 08S2-021
S2-021 appears on the part list in your electronic project package, next to the QC readings for the coating batch it came from.
07Replacement request
Years laterS2-021
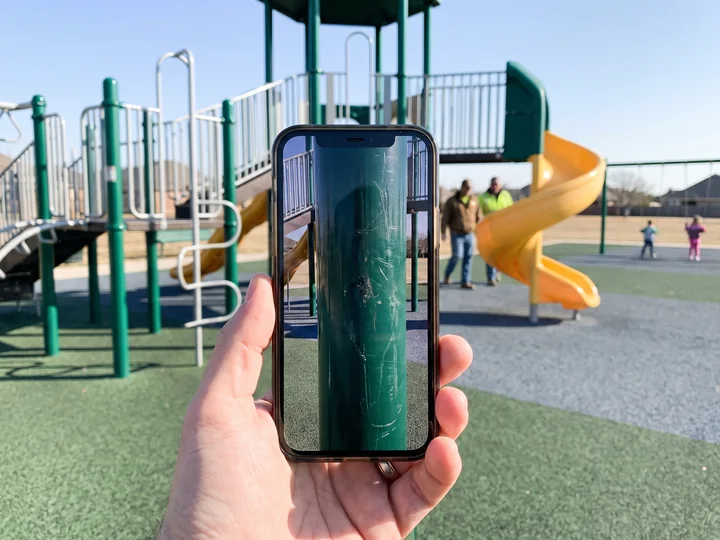
If S2-021 is damaged years later, send a photo and its number. QC confirms it against your part list, and a replacement is made to the same dimensions on your installation drawing. Replies come within 24 hours on business days.
Photo + S2-021 → QC checks your part list → same dimensions
Shipping Documents and Your Electronic Project Package
When the container sails, you receive two sets of files together: the shipping documents and an electronic project package with everything your project was built to.
01Approved-drawings/
02Installation-drawings/
03Footing-detail-drawings/Every post
06QC-readings/For your project
07Photos-and-video/
Shipping documents
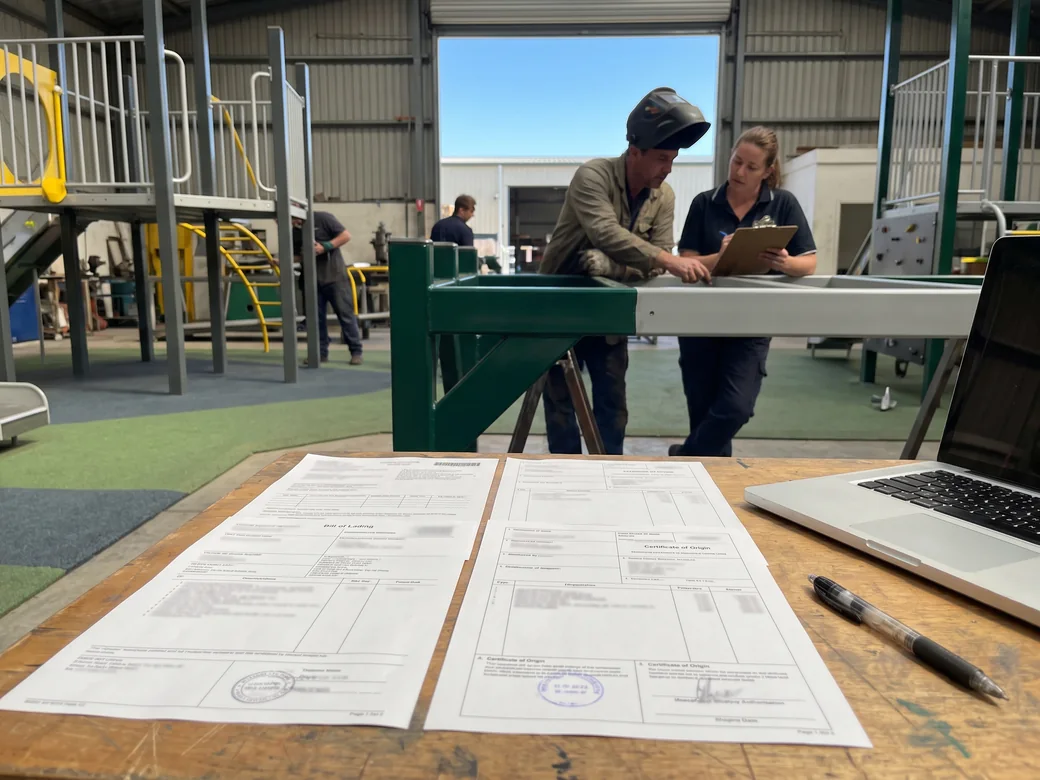
- Bill of lading
- Commercial invoice
- Packing list · keyed to part numbers
- Certificate of origin · on request
Who uses the package
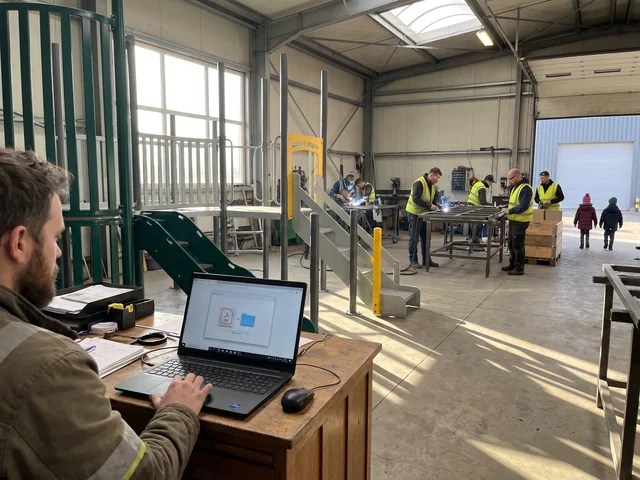
Specifiers
Attach it to submittals and approved-supplier files.
Dealers
Hand it to your client or tender board.
FEC owners
Keep it for insurers and inspectors.
Your installer
Works from the installation drawings and part list.
The same package is kept on file under your project, so a reorder, a phase 2 or a replacement part years later is made to the same drawings and part numbers. How QC readings are taken is described on the about page.
Arrival and Installation Footing Drawings, Numbered Parts and Video Support
By the time your container arrives, your site can already have its footings in, poured to the footing detail drawings issued at approval. Playground installation support runs from the same drawings.
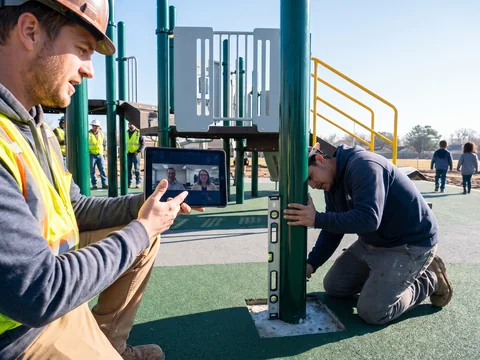
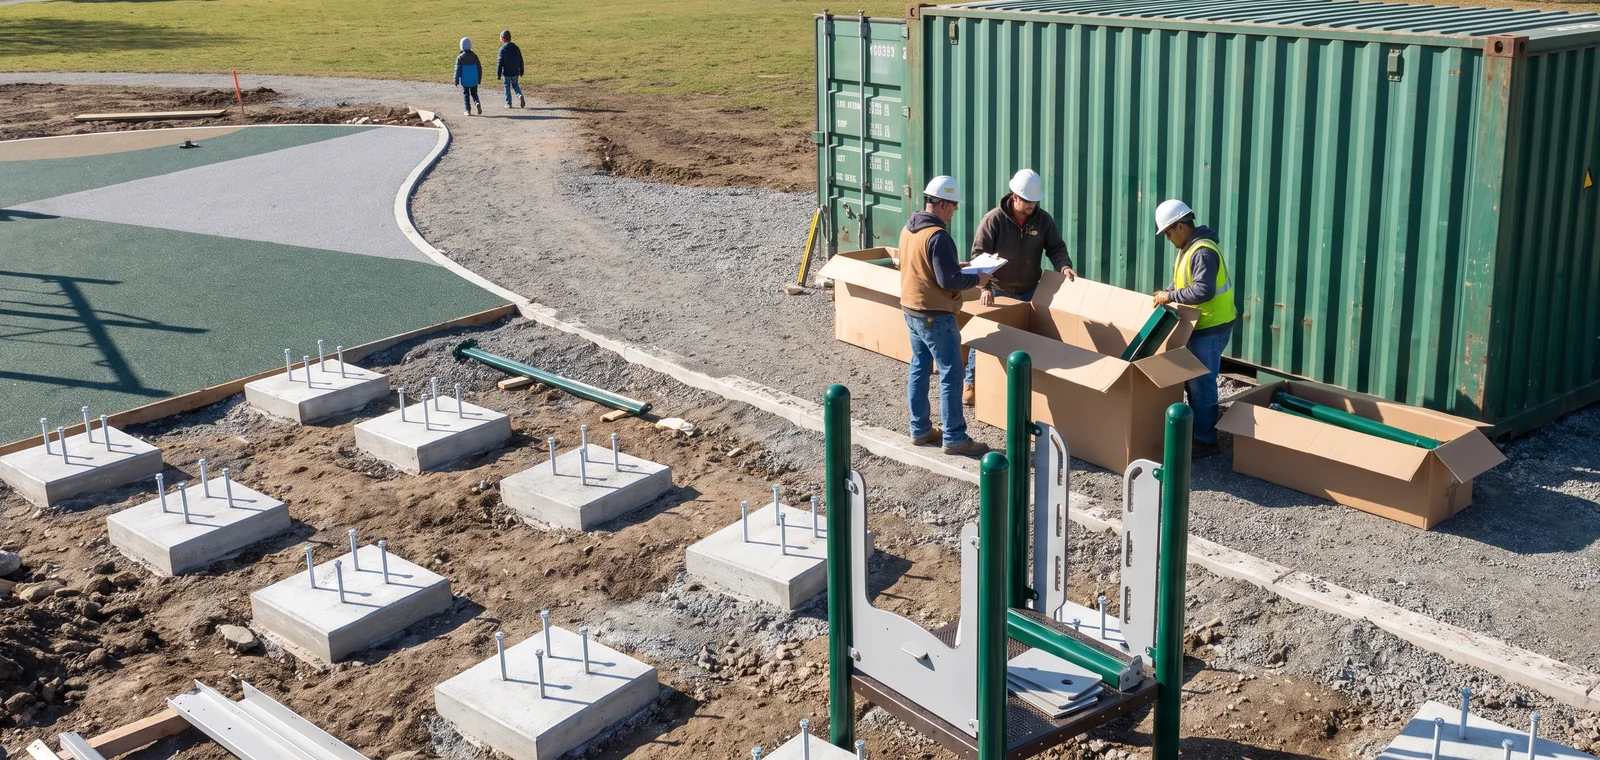 S2-021S1-014Footings poured during production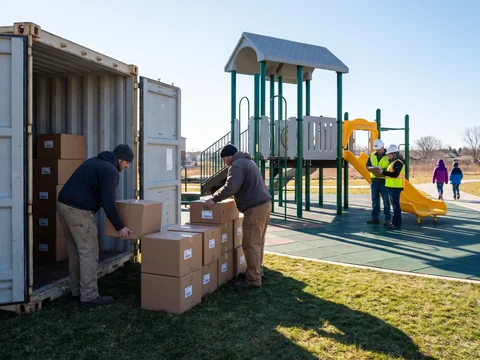
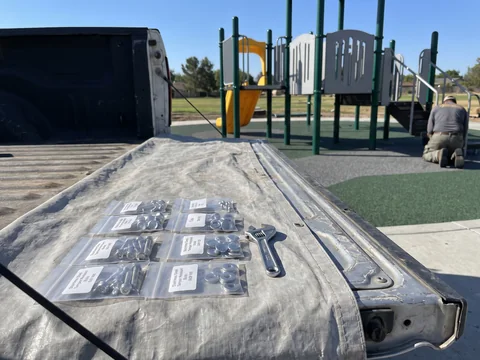
What arrives
- Every part numbered to your installation drawing, packed in installation sequence
- Anchoring hardware for every post
- A spare hardware kit, with spare springs for trampoline orders
- Soft play padding, nets and mats labeled with their structure numbers
How your installer builds
Boxes come out in build order and are checked against the packing list. Structures go up from numbered parts that have already been assembled once in the factory yard.
Support
- Installation drawings
- Step-by-step video guides
- Live video support
- An optional on-site supervisor, quoted separately
Sea freight
Sea freight time is quoted per destination.
Mixed-Category Projects Workshop and Partner-Built Items on One Timeline
A complete site often mixes equipment from the workshops with inflatables, rides, splash pad parts, surfacing and shade fabric from partner factories. On your timeline they move as one project.
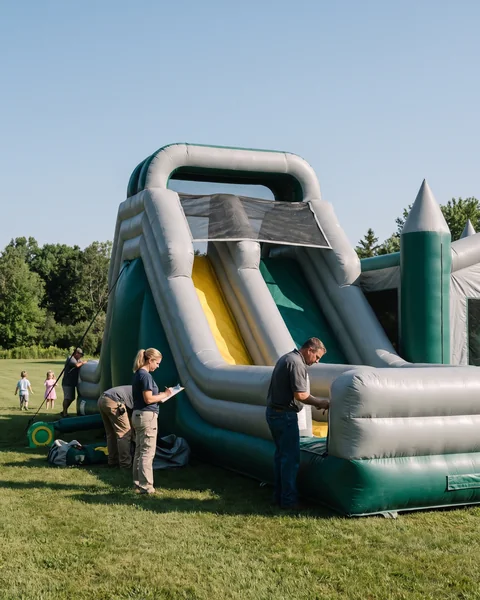 Partner-built · inflatables
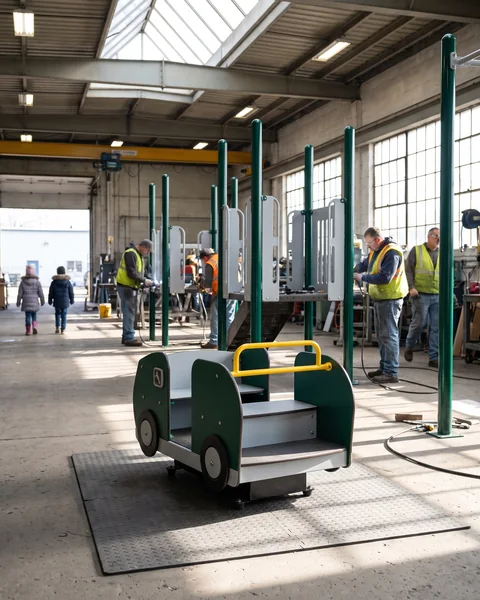 Partner-built · kiddie rides
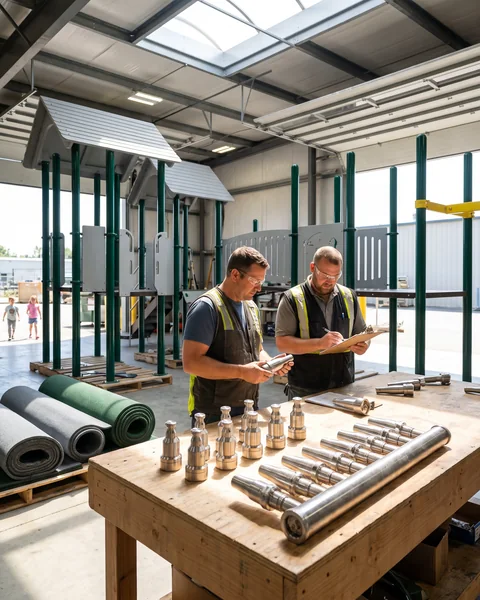 Partner-built · splash pad parts
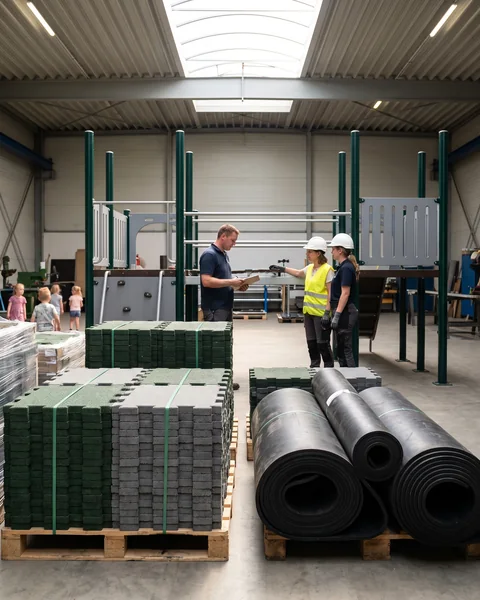 Partner-built · surfacing
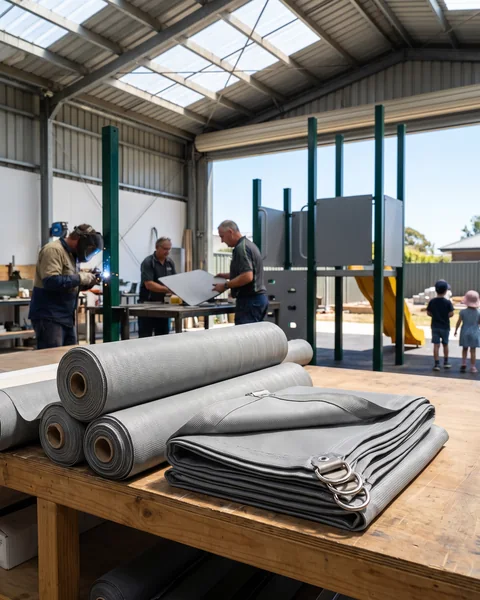 Partner-built · shade fabric
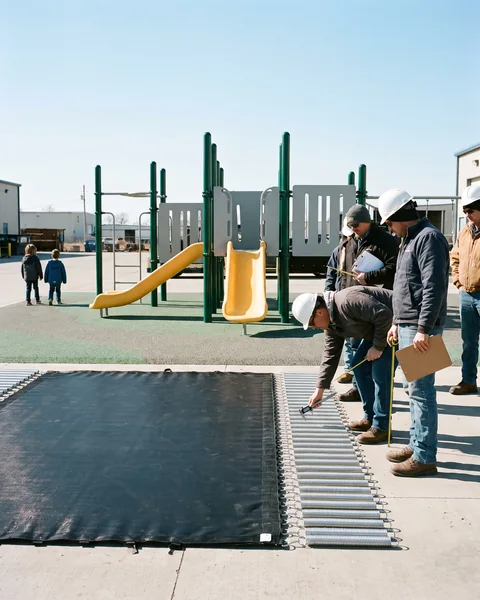 Partner-built · jump beds + springs
- 01Drawn on your layout
- 02Priced on the same quotation
- 03Ordered on the approval day
- 04Numbered on your part list
- 05Inspected by our QC against your drawing
- 06Loaded to the same container plan
Your project manager deals with the partner factories, so you keep one contact and one loading date. Which categories come from where is listed on commercial playground equipment and indoor playground equipment; how partner factories are approved is on the about page.
Buying Routes on the Same Timeline Dealer, Installer or Direct
Playground dealers and installers, parks departments, public schools and specifiers, and FEC founders opening indoor venues all run through the same eight steps, drawings and confirmation points.
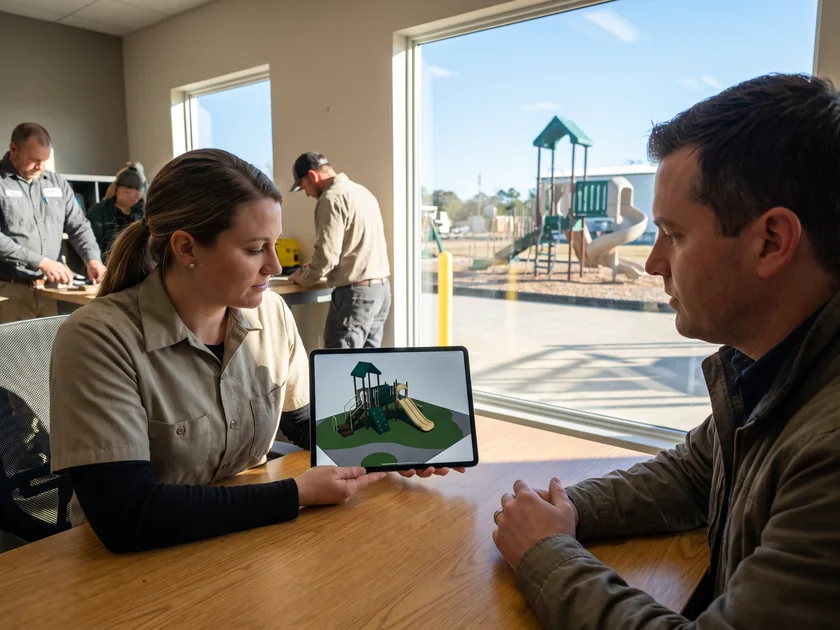
Your brand, your client
Files unbranded or under your brand, with the project registered under your name. End-client details stay confidential.
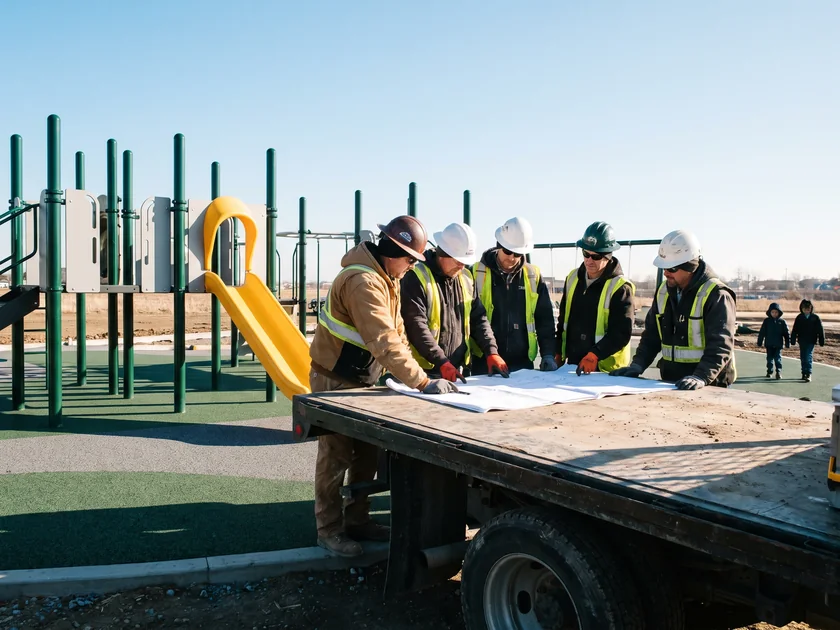
Files for your bid
Layout, renders and quotation for your bid, under your brand, with the project registered under your name.
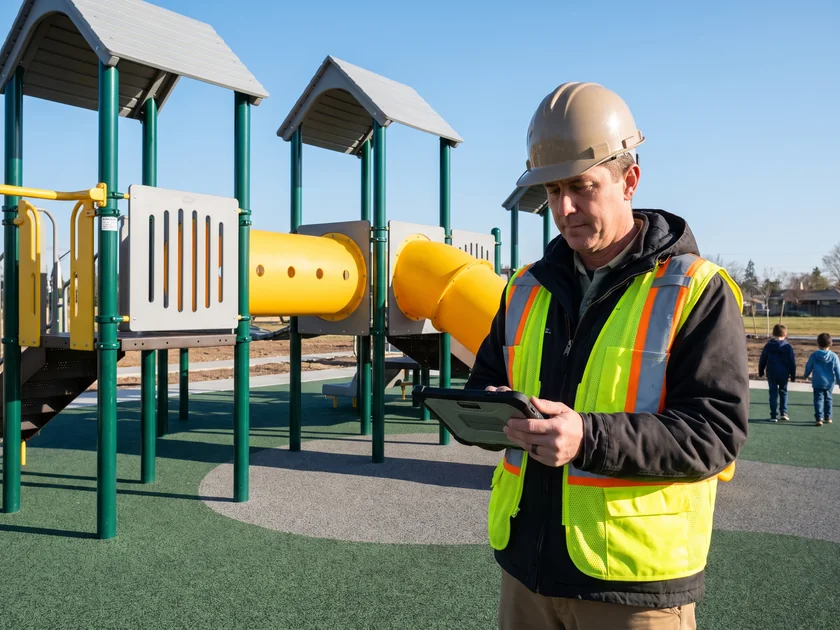
Parks, schools, venues
Order directly or through your local installer, and receive the same project package.
Project Start Checklist Site Plan, Age Groups, Theme, Standard and Buying Route
Send what you have, and your project manager asks for the rest. The full list by project type is on the contact page.
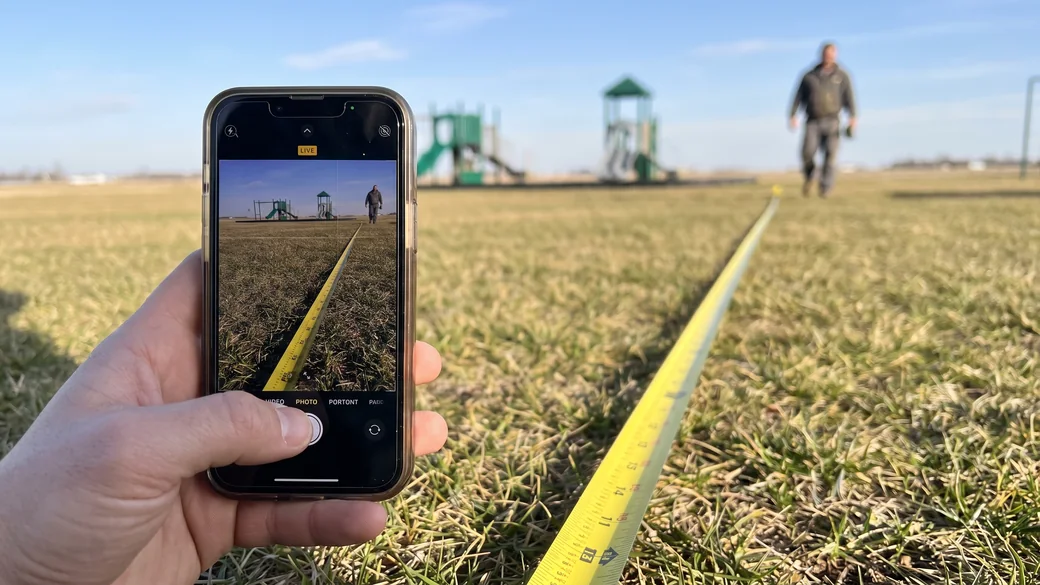
- 01
Site
Site plan or dimensions, and site photos.
- 02
Users
Age groups and expected visitors.
- 03
Look and budget
Theme and colors, and your budget range.
- 04
Rules and route
The standard you build to, and your buying route: dealer, installer or direct.
Indoor venue? Switch above for four more items.
Column positions, clear ceiling height, entrances and fire exits.